Each month a lovely group of talented Stampin’Up! take part in a themed bloghop….its a great way to share our creativity with lots of people and hope you will follow the ‘hop’ by clicking on the links below. Some months I join in, but not always…..depending on other committments.
The theme for this months Bloghop is Love
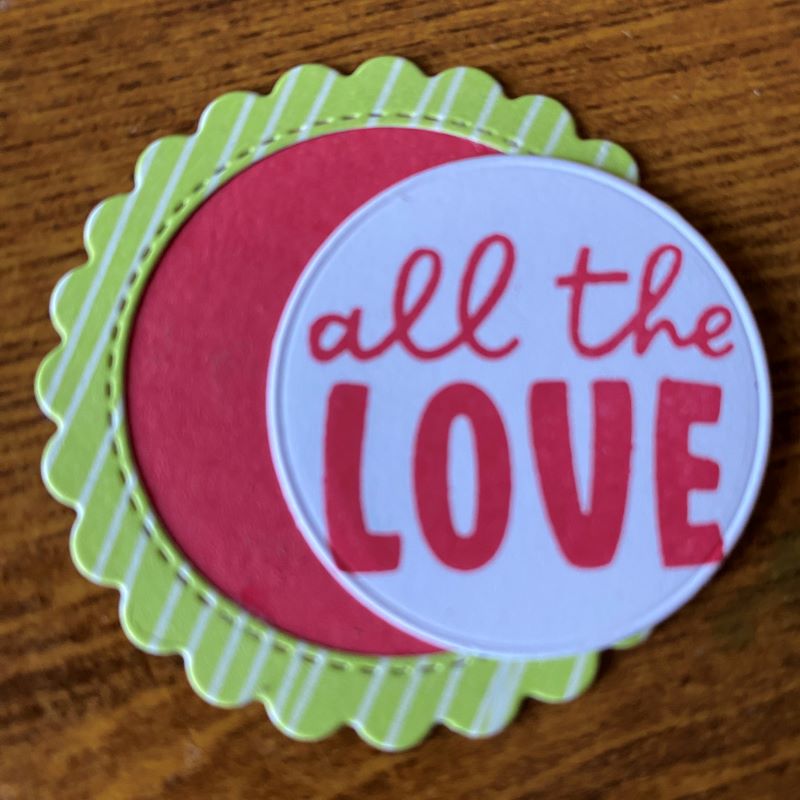
I used the sentiment from Best Butterflies stamps and dies from the Give it a Whirl set for my card, and the colour palette of Sweet Sorbet and Parakeet Party. There is a full list of products that I used at the bottom of this post.
My card is inspired by my lovely friend, who is always bright and colourful and loves her ‘bling’.
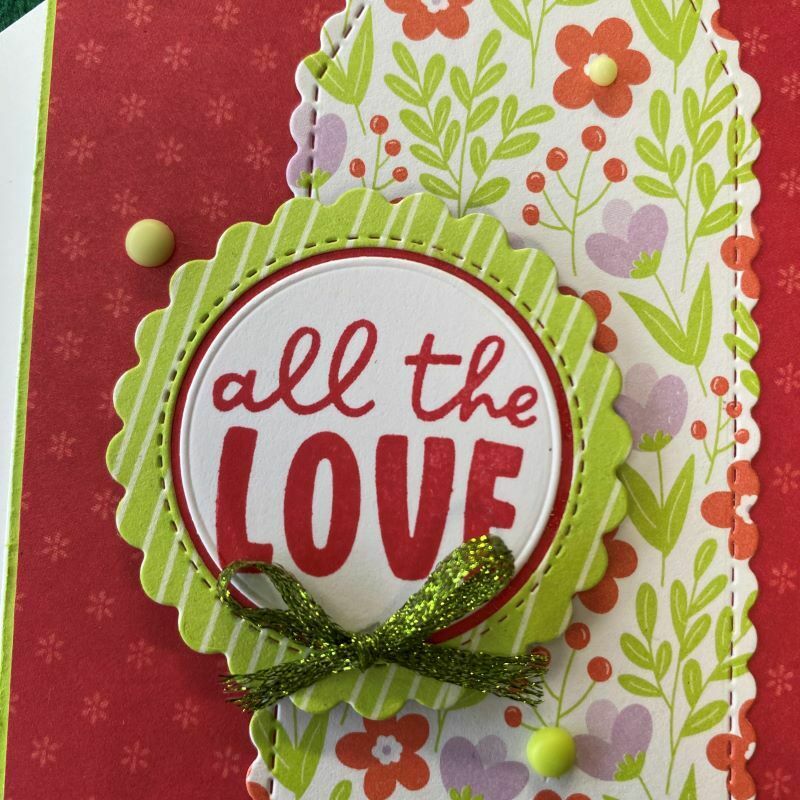
The central panel is die cut using one of the Basic Border dies on a 5 1/2cm panel of designer series paper (DSP), from the Butterfly Kisses paper selection.
The back layer is using DSP from The Tea Boutique and the gorgeous Sweet Sorbet colour which I also used for the stamping on the front, inside and on the back panel.
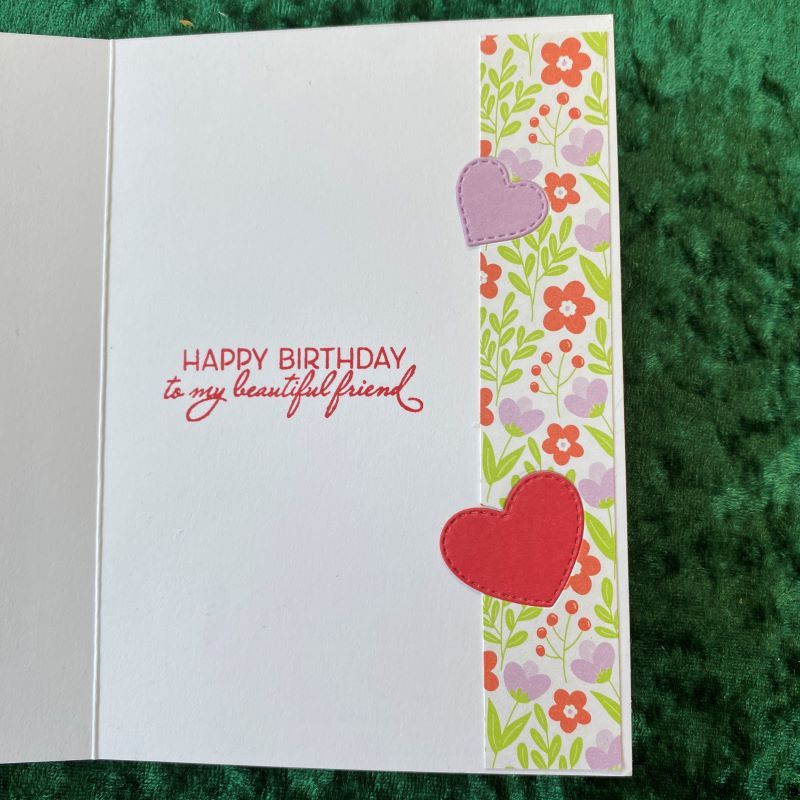
I also added a panel of DSP to the inside of the card, but before adhering in place, I die cut 2 hearts from the edge of the panel, and then die cut a large heart in Sweet Sorbet and a smaller heart in Fresh Freesia and once the panel was stuck in place, I inlaid these hearts into the pre-cut ‘gaps’.
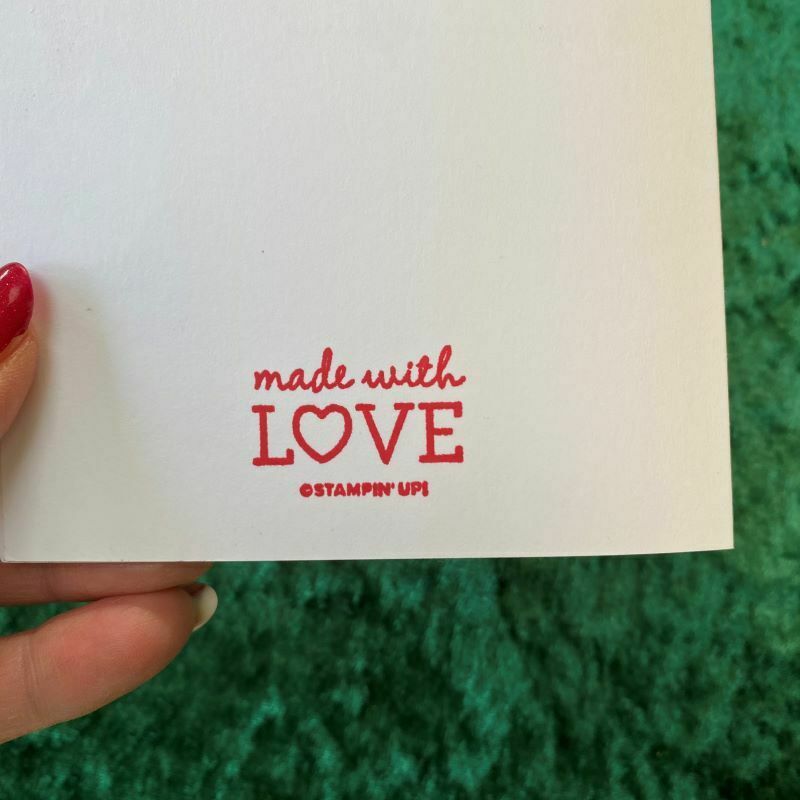
I die cut more hearts to embellish the front of the envelope, and then stamped on the back of the card with one of Stampin’ Up!s copyright stamped images. ‘Made with Love’ was very apt!!¬
I do love this years In colors and in particular, the lovely vivid Parakeet Party green and Sweet Sorbet. I used some of the Parakeet Party Metallic woven ribbon to embellish with a bow. I also added some Incolor Matte dots,
I do hope you enjoyed looking at my creation and it would be great if you could leave a comment – I love to read them! Don’t forget to support other demo’s by hopping over to their blogs using the links below;
Love the products that you’ve seen me use? You can order from me here or alternatively by clicking on any of the products that I’ve used that are listed below.
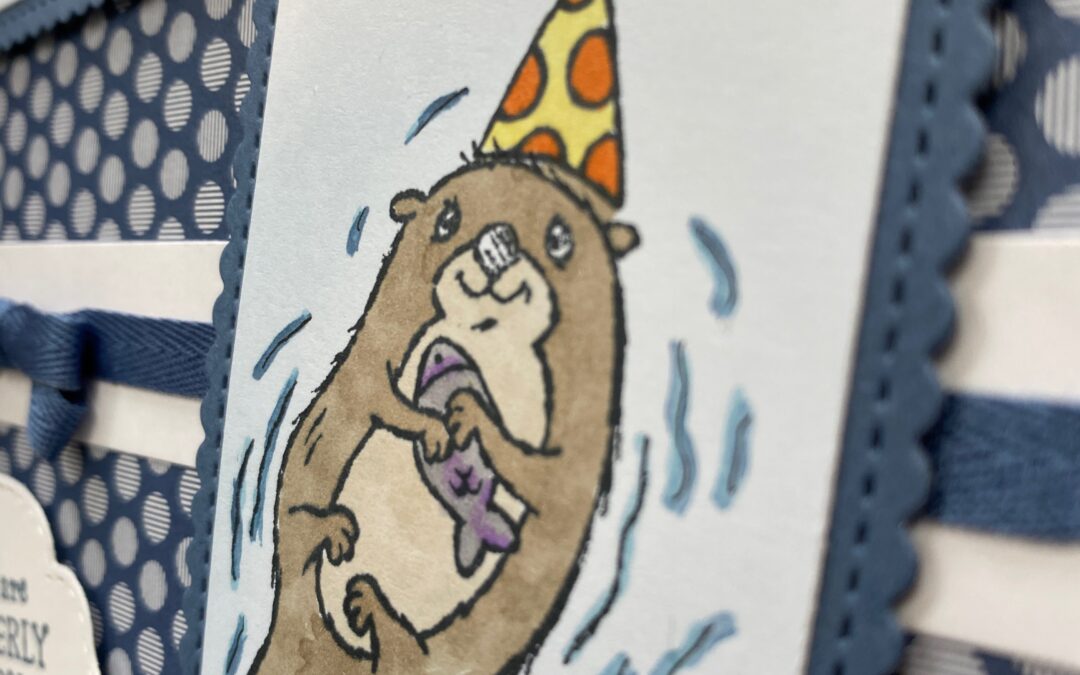
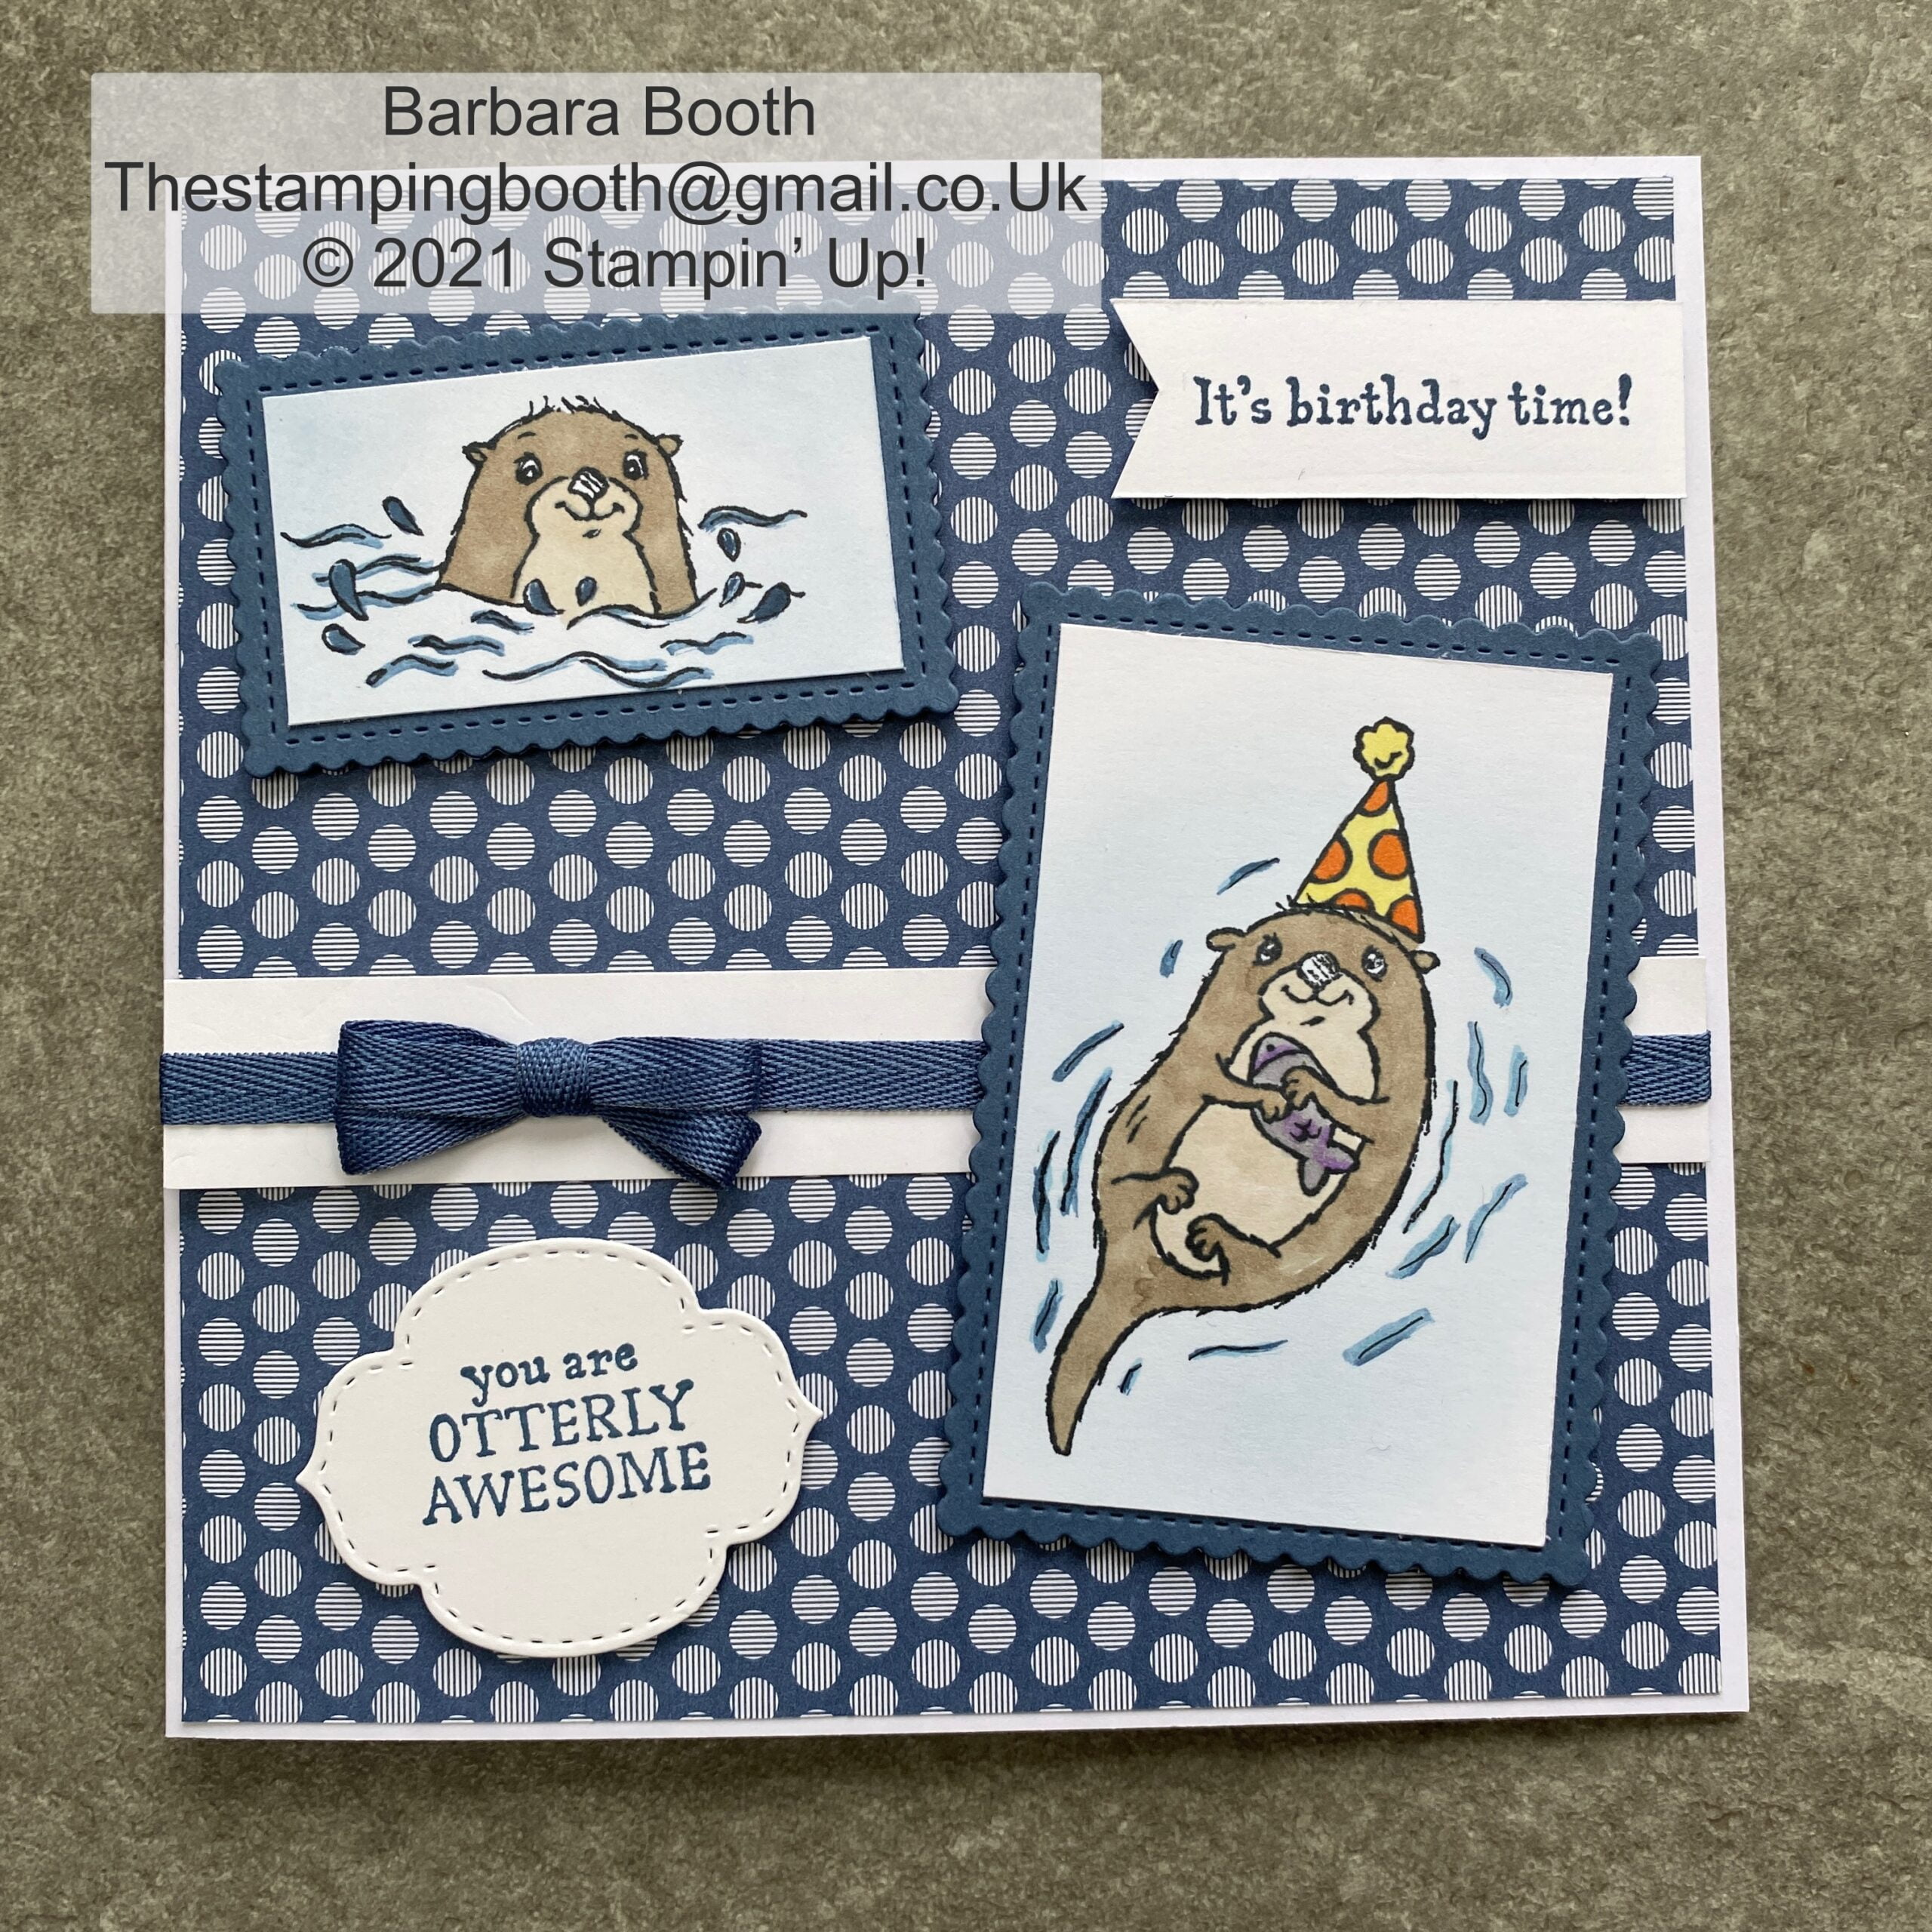
I made this card for my Granddaughter’s birthday using the gorgeous Awesome Otters stamp set. This is one of the items you can get for FREE with a £45 order! Yes, FREE!!
Once again Sale-a-bration has started, this time running from January 4th until February 28th. During this period, any purchase from current catalogues (annual, Jan to June mini or purchases for online exclusives ie kits) that exceed £45, entitles you to choose from a selection of products from the Sale-a-bration catalogue. Spend multiples of £45 and get 2 free items or a higher value item (catalogue price excluding shipping and handling).
Anyway, back to my Granddaughters birthday card. She particularly loves Sloths, but as I don’t have a sloth stamp, I figured a cuddly otter would make her just as happy…hope I’m right! This set is soo cute! Three different otters and sentiments that are actually pretty usable. I think so many sentiments are too Americanized and not what we use in the UK. (I wonder if the Americans actually do use them on their cards?)
Awesome Otters Sale-a-bration stamp
I used Stampin blends to colour the otters and used blending brushes to soften the water around them. The background paper is retired incolor papers although the colour (Misty Moonlight) is still current until June this year.
On the inside I used sentiments from ‘A Grand Kid’ stamp set and just had to pop another otter in their!
So, don’t forget if you love this Awesome Otter, you can get it for FREE with an order of £45 or more. So you too can make an Awesome Otters birthday card!! To find out more email me at [email protected].
If you don’t have the latest January to June Mini catalogue or Sale-a-bration catalogue and live in the UK, again drop me an email and I will get one to you [email protected]. Alternately, you can see everything in my online shop here
Anyone else have birthdays straight after Christmas? I now have son-in-laws card to make and post!!
You only have to look around the shops to know its ‘that time of year’ approaching!
The summer has flown by with holidays, grandchildren and the dreaded Covid, and also the redesigning of my website, but now a sort of normality is happening.
Craft groups are restarting, my Coffee and a Card group starts next Monday (contact me for more info), and today i’m working on upcoming workshops and thought it was time to share a Christmas card to get you all in the mood! So it was time to get playing with some of the new products I got back in July!
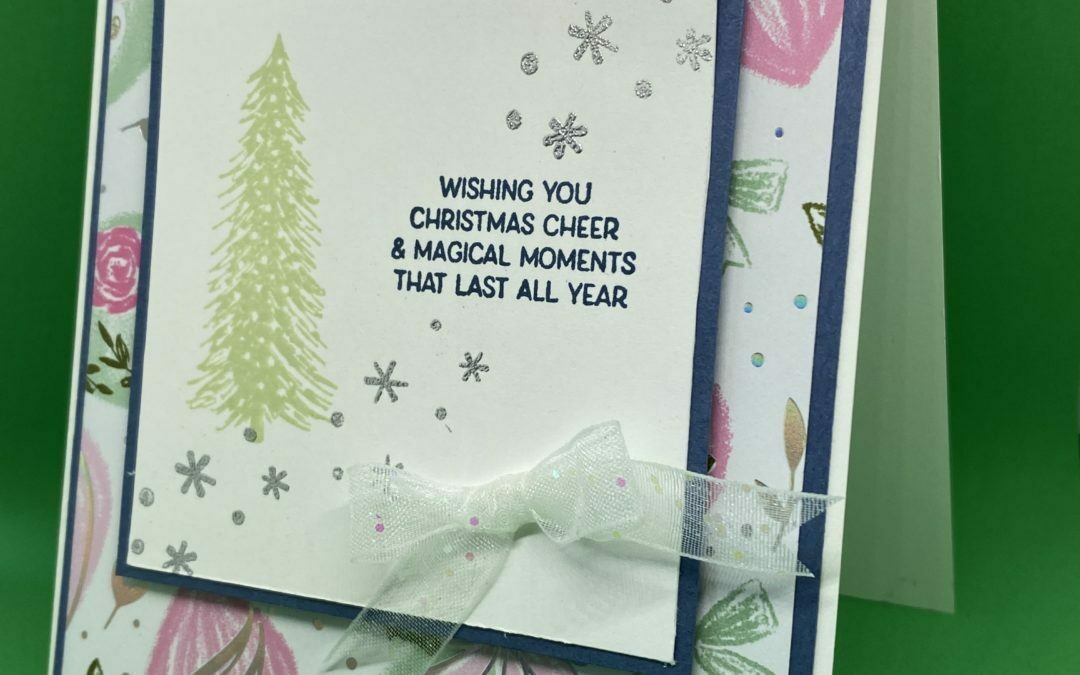
I’ve used the Whimsical Trees and co-ordinating Whimsy and Wonder papers, all available in the July to December mini catalogue. (Don’t have a copy? contact me – to get one sent out, UK only).
I heat embossed the snowflakes from the Penguin Place stamp set in silver to add more sparkle to the sentiment.
This is such a pretty set. Love the non traditional colours of the papers, some sheets are foiled (this one is but don’t think it shows too well in the photos, and that ribbon….Glittered Organdy ribbon, has beautiful shimmery tiny sequins embedded…it is gorgeous.
I am doing a ribbon share, so if you would like 1 metre of each of the 9 ribbons in the July-December mini catalogue, then get in touch…..they are not all Christmassy.
I put my website into ‘maintenance back in May, and where has time gone? I’ve still been crafting – well, until I went on holiday mid June, but then I’ve had technical issues with the upgrade of my website, along with catching Covid which knocked me off my feet for a few days. So, these are actually cards I made prior to my holiday to Cornwall and some I have demonstrated on my Facebook page.
Color & Contour meets Very Versailles
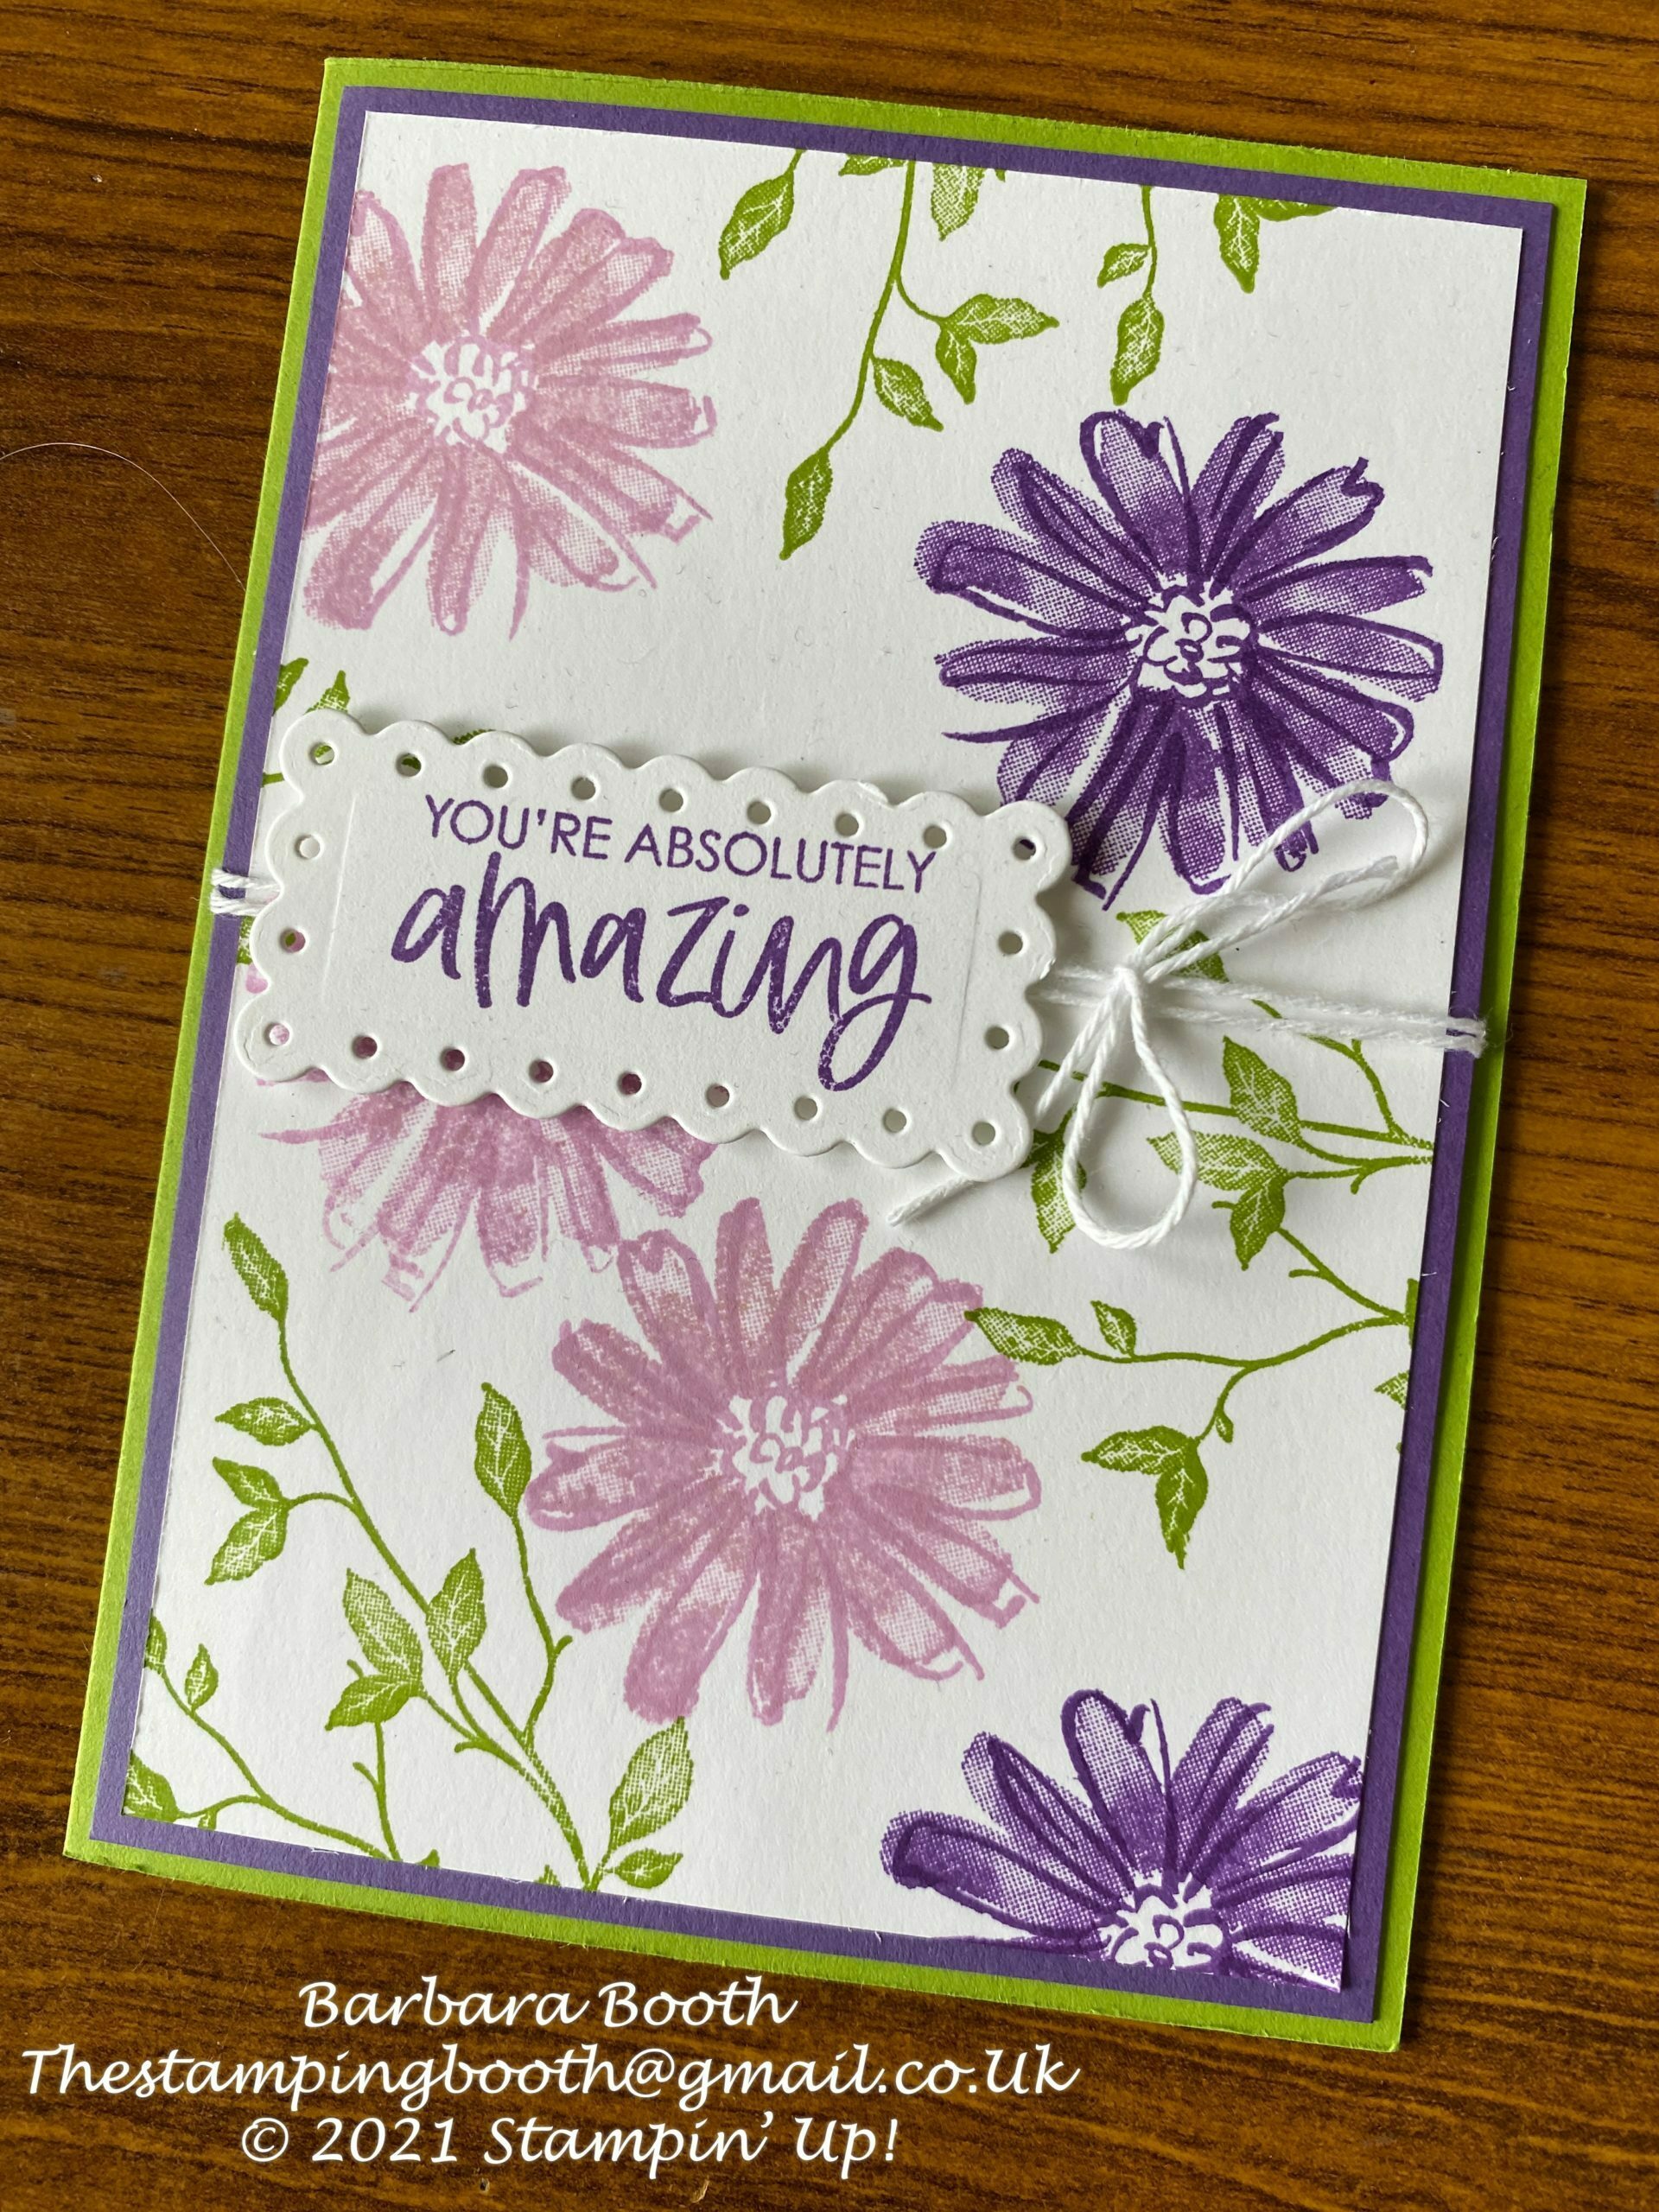
I know…its flowers again! But, I love this set…so simple to use and so many colours possible…you can never make 2 cards the same!
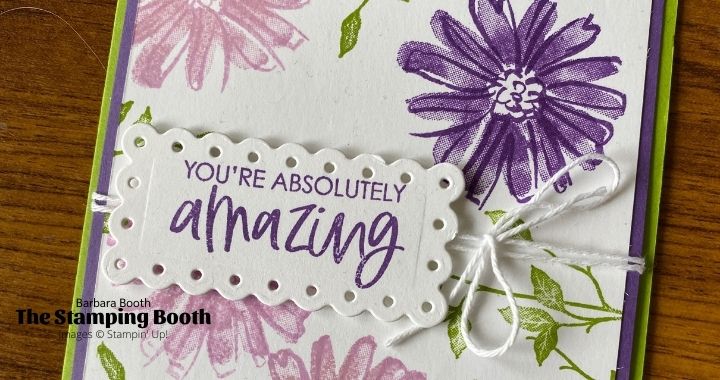
This card used a base of Granny Apple Green, a layer of Gorgeous Grape and then stamping onto Whisper White – yes I’m not onto my basic white stock yet!!
I stamped the cards in Fresh Freesia and Gorgeous Grape and then used Granny Apple Green for the ‘vines which were from the Very Versailles set
I die cut the smallest Scalloped Contour die in white and stamped the sentiment from the Color & Contour set. After sticking the top two layers together, i wound some white bakers twine around before attaching the sentiment.
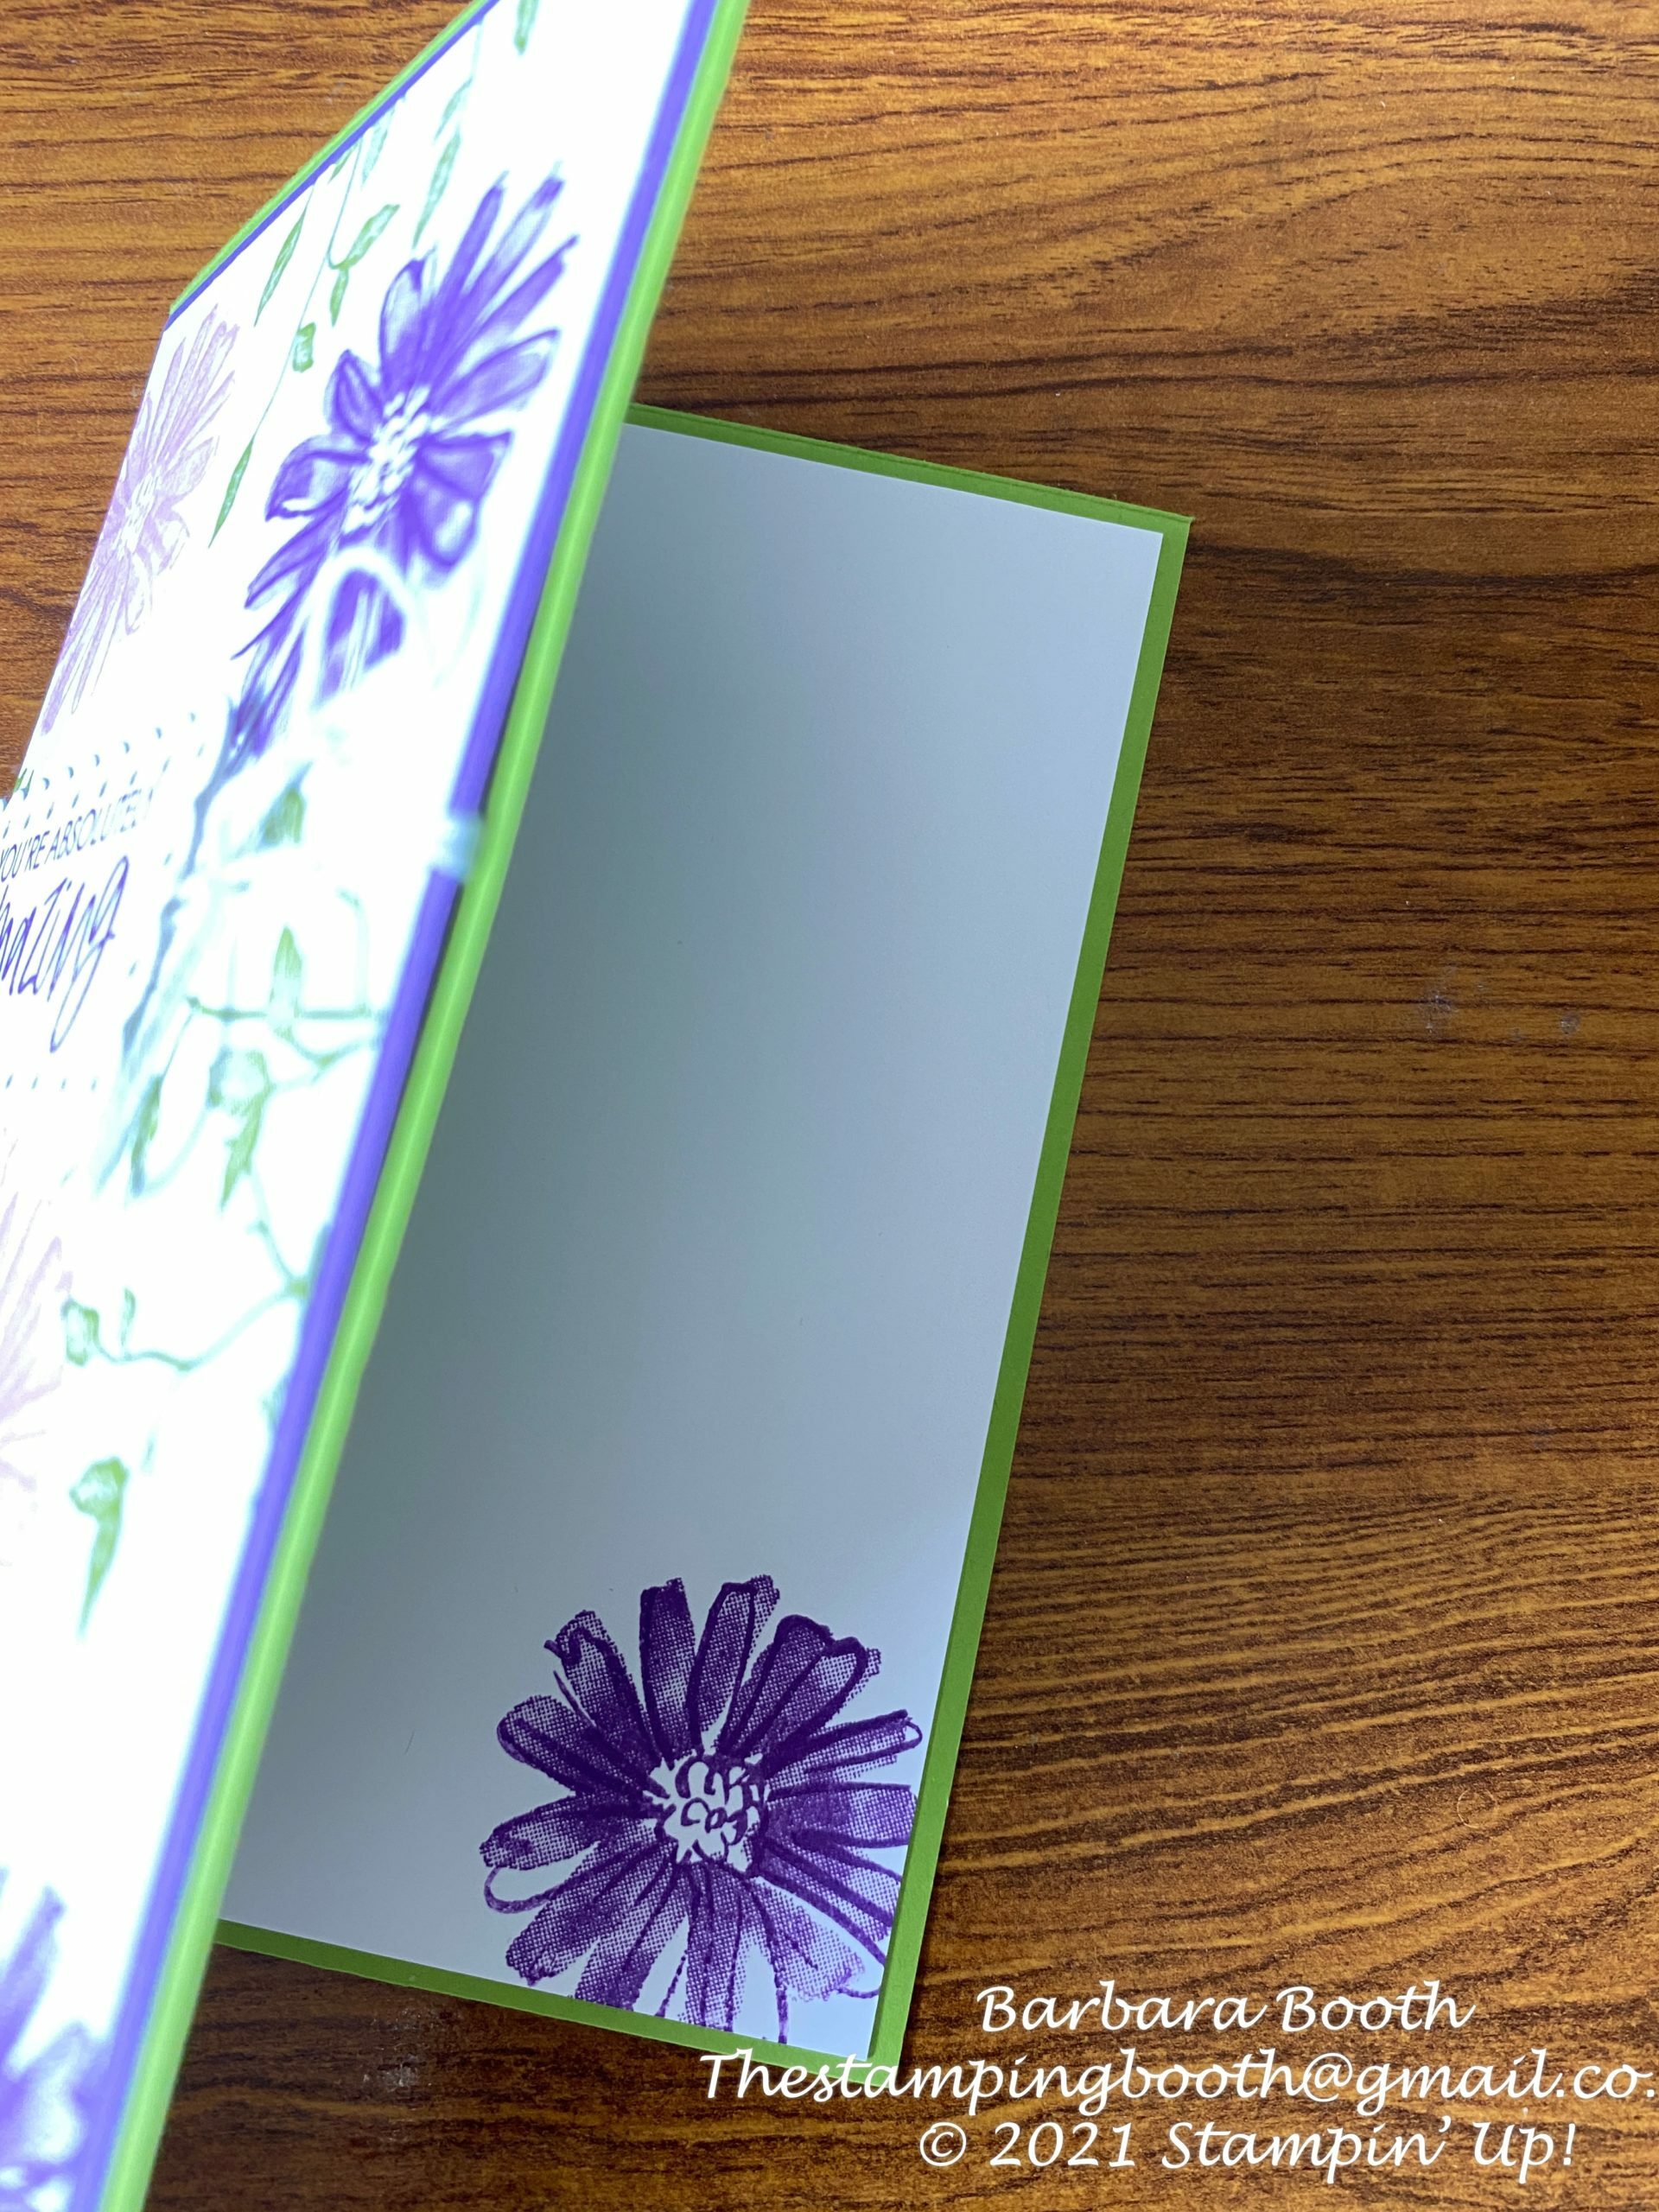
To finish off, I added a stamped image to the inside on a layer of white.
I love how these colours go together and give the card a real’pop, what do you think?
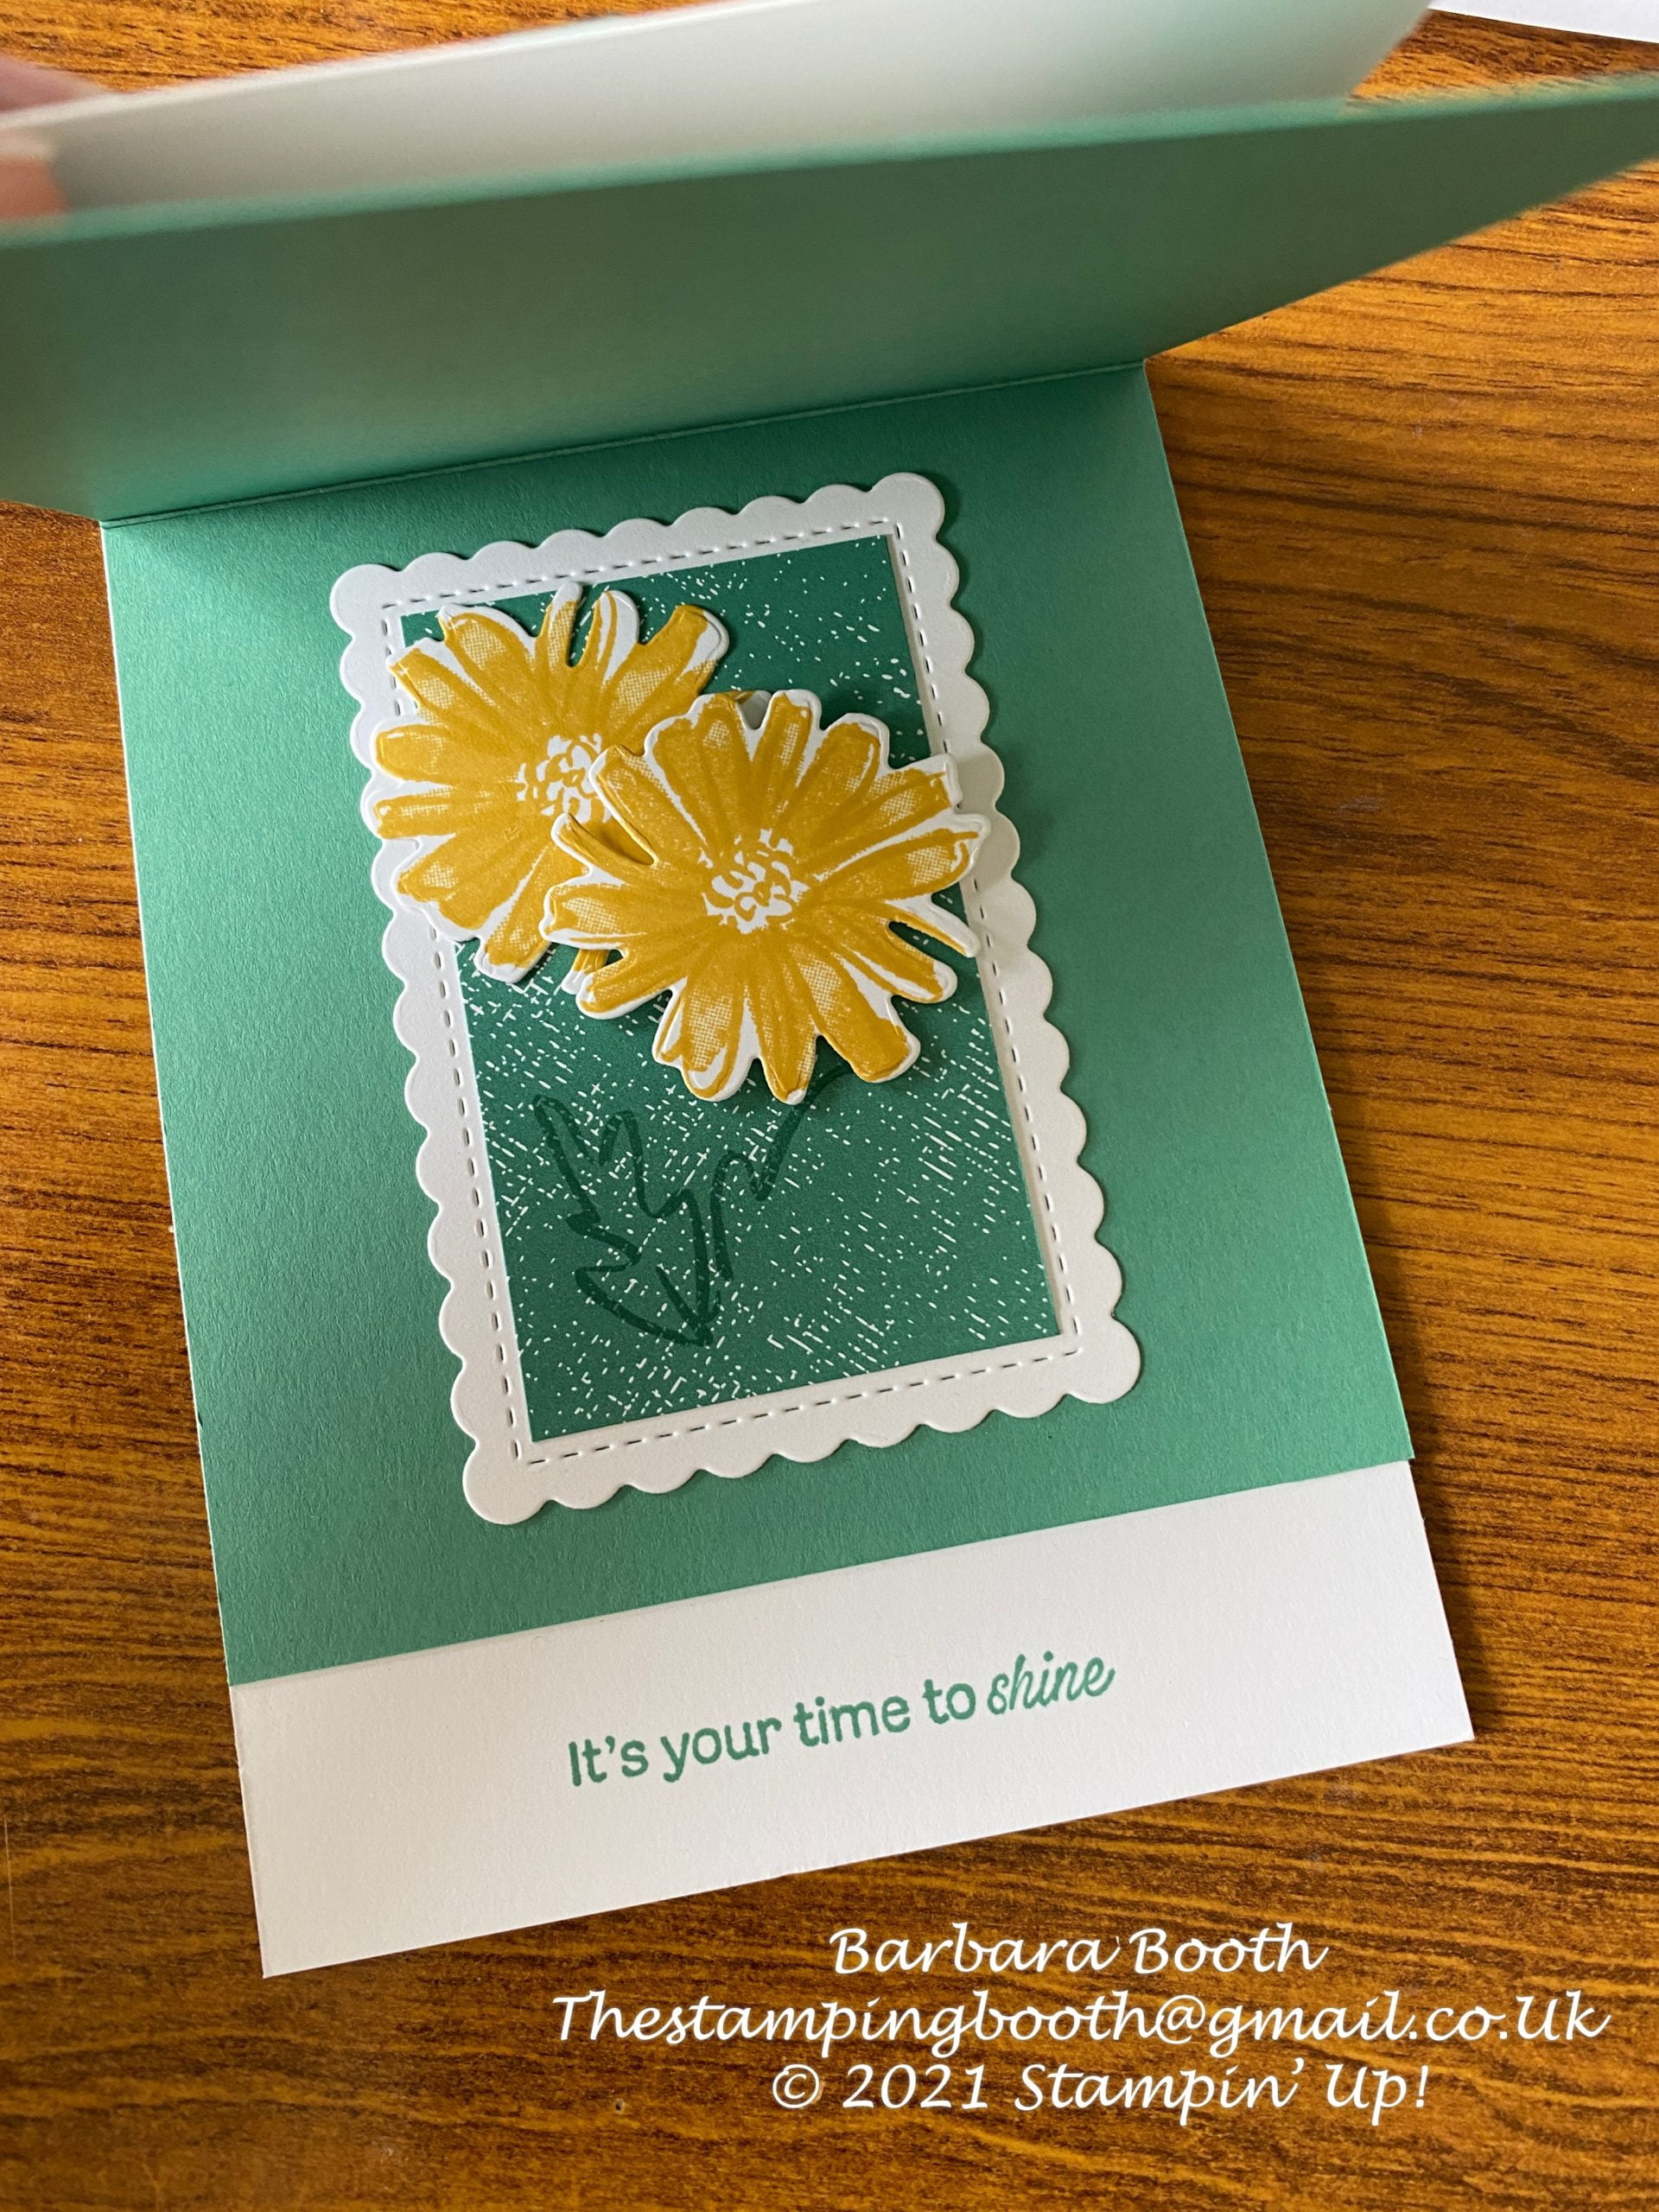
My lovely upline, Zoe Tant, showed a group of us (her) team members how to make this next card.
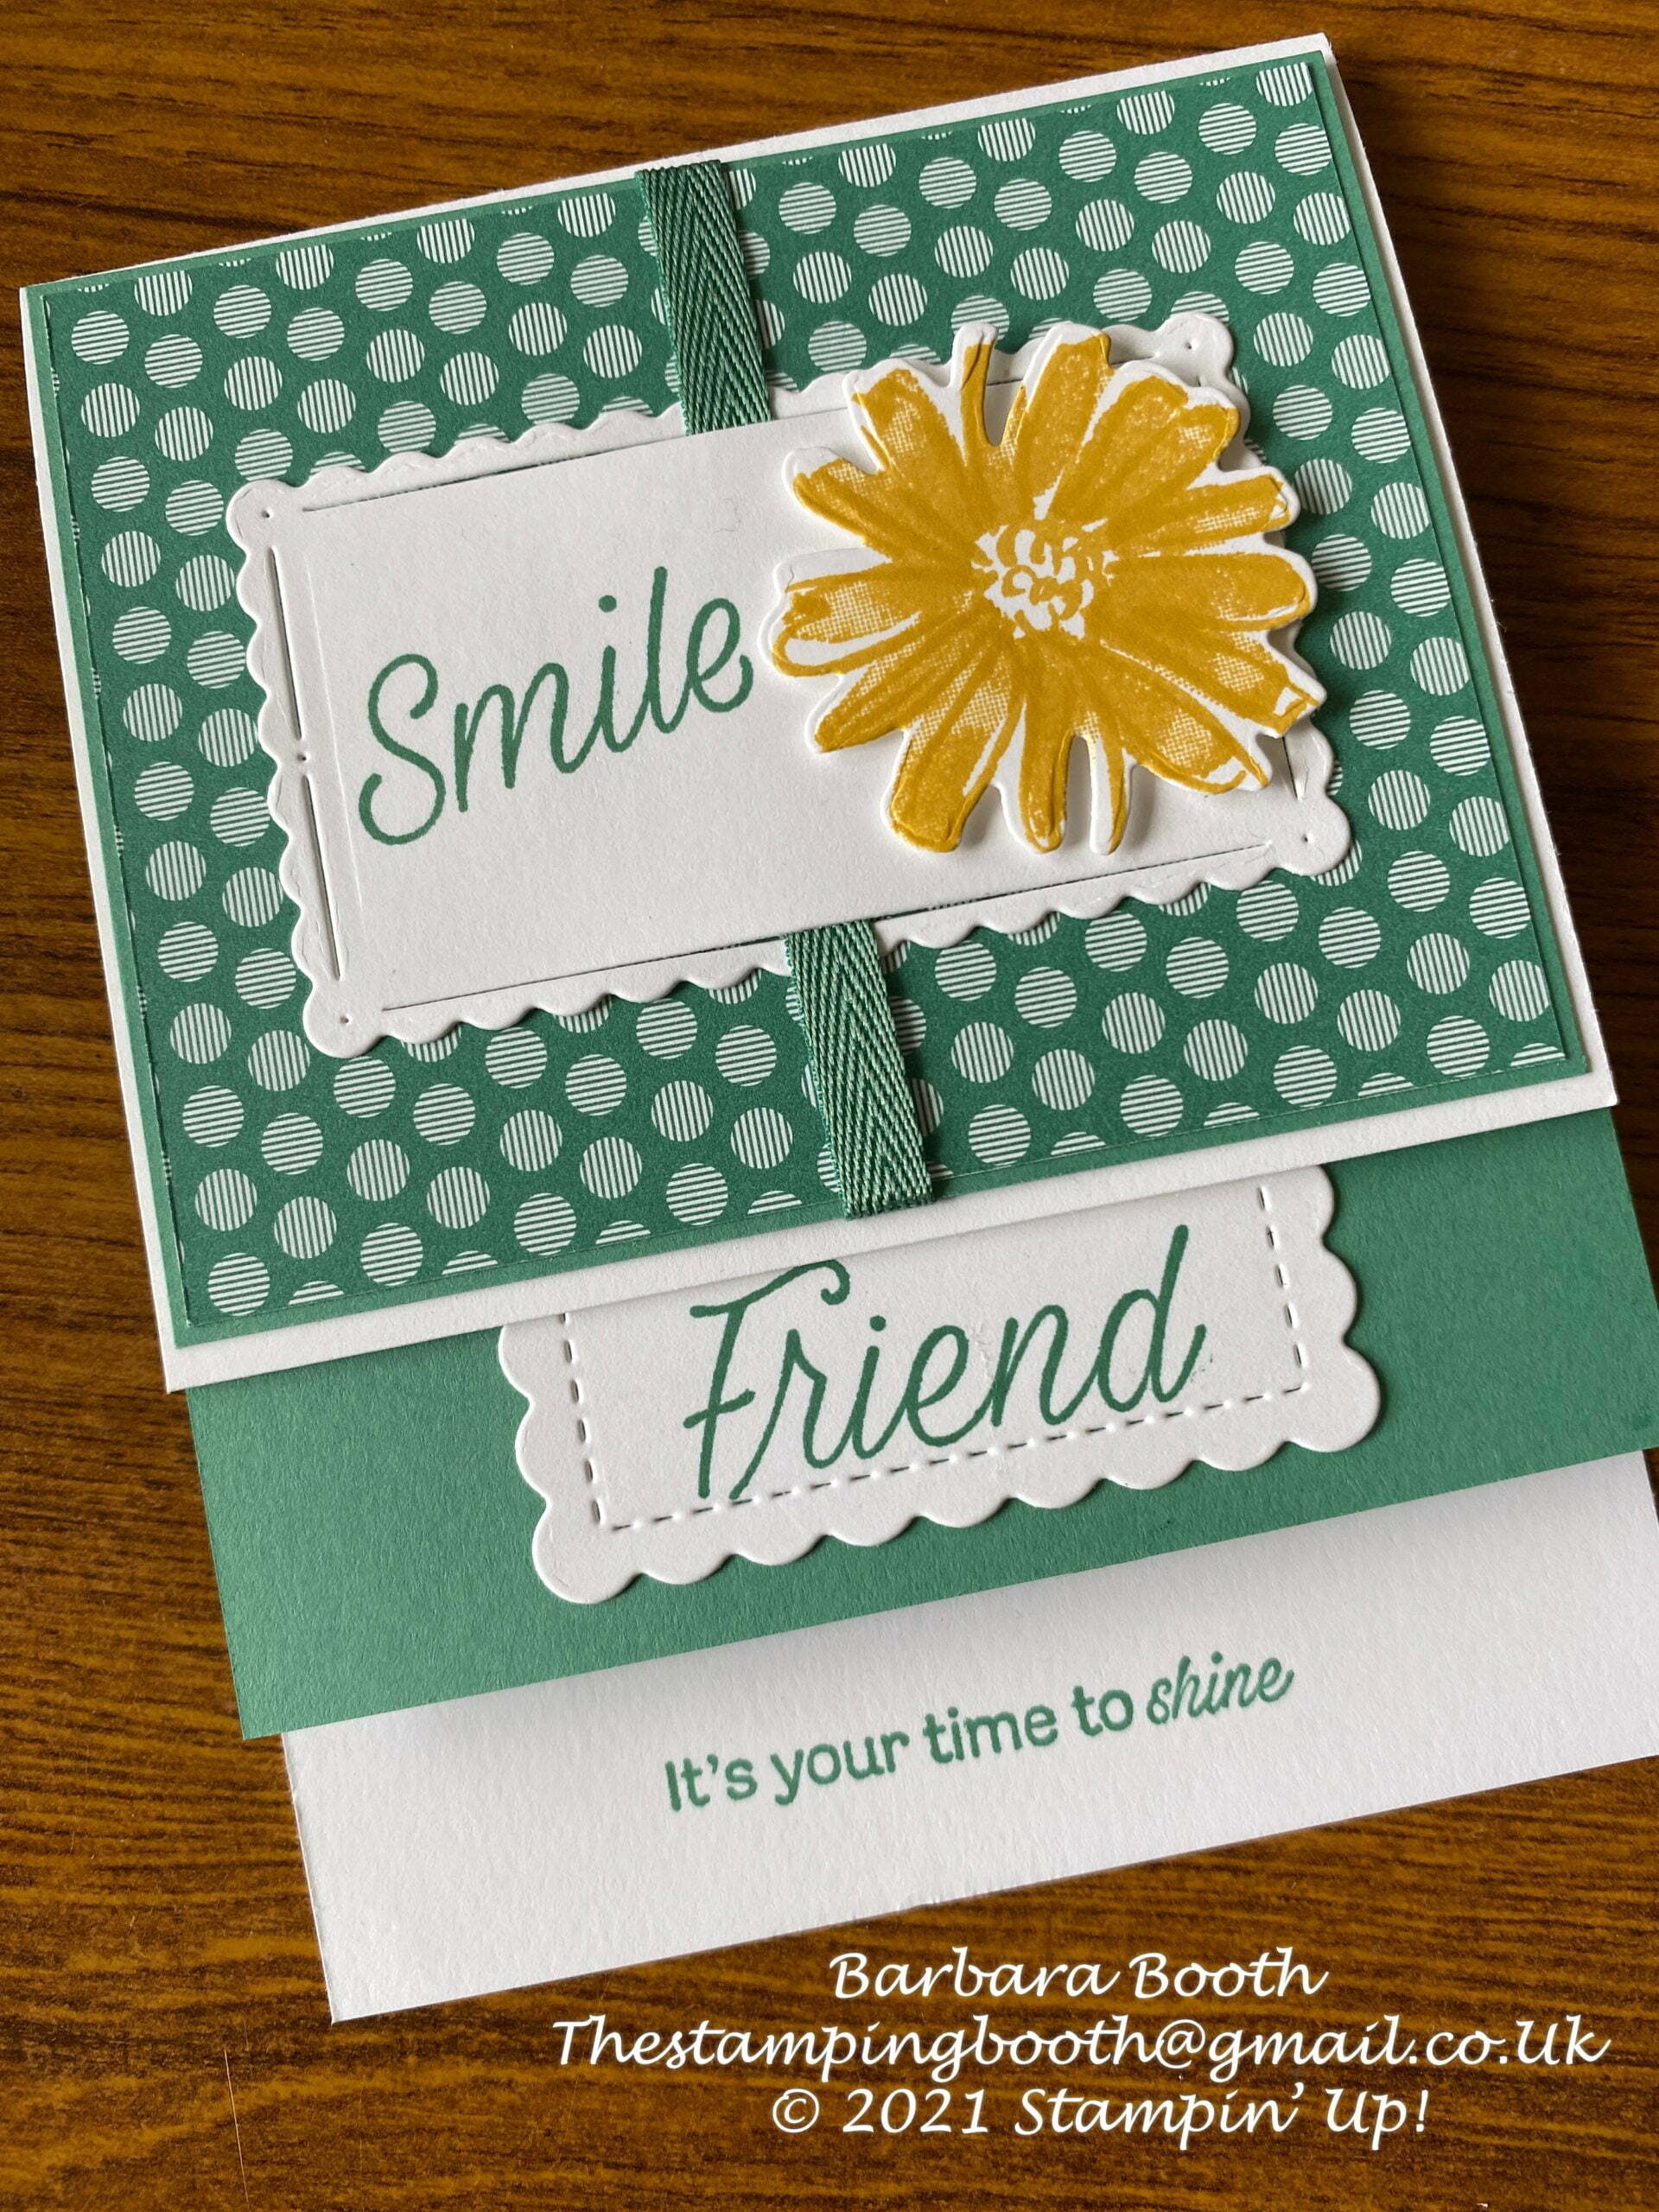
Its far easier than it looks, and is a bit like sticking a card within a card!
You will need;
Card base 23cm x 10.8cm scored at 14cm
Coloured card 22.8cm x 10.8cm scored at 14cm
Coloured card (layer) 10.5cm x 8.5cm
DSP (patterned paper) 10.2 x 8.2
additional dies cuts to embellish
To make;
Adhere the back of the largest piece of coloured card to the back of the base card at the hinge, leaving the front section ‘hanging.
Attach the DSP onto the layer, and then fasten to front of card.
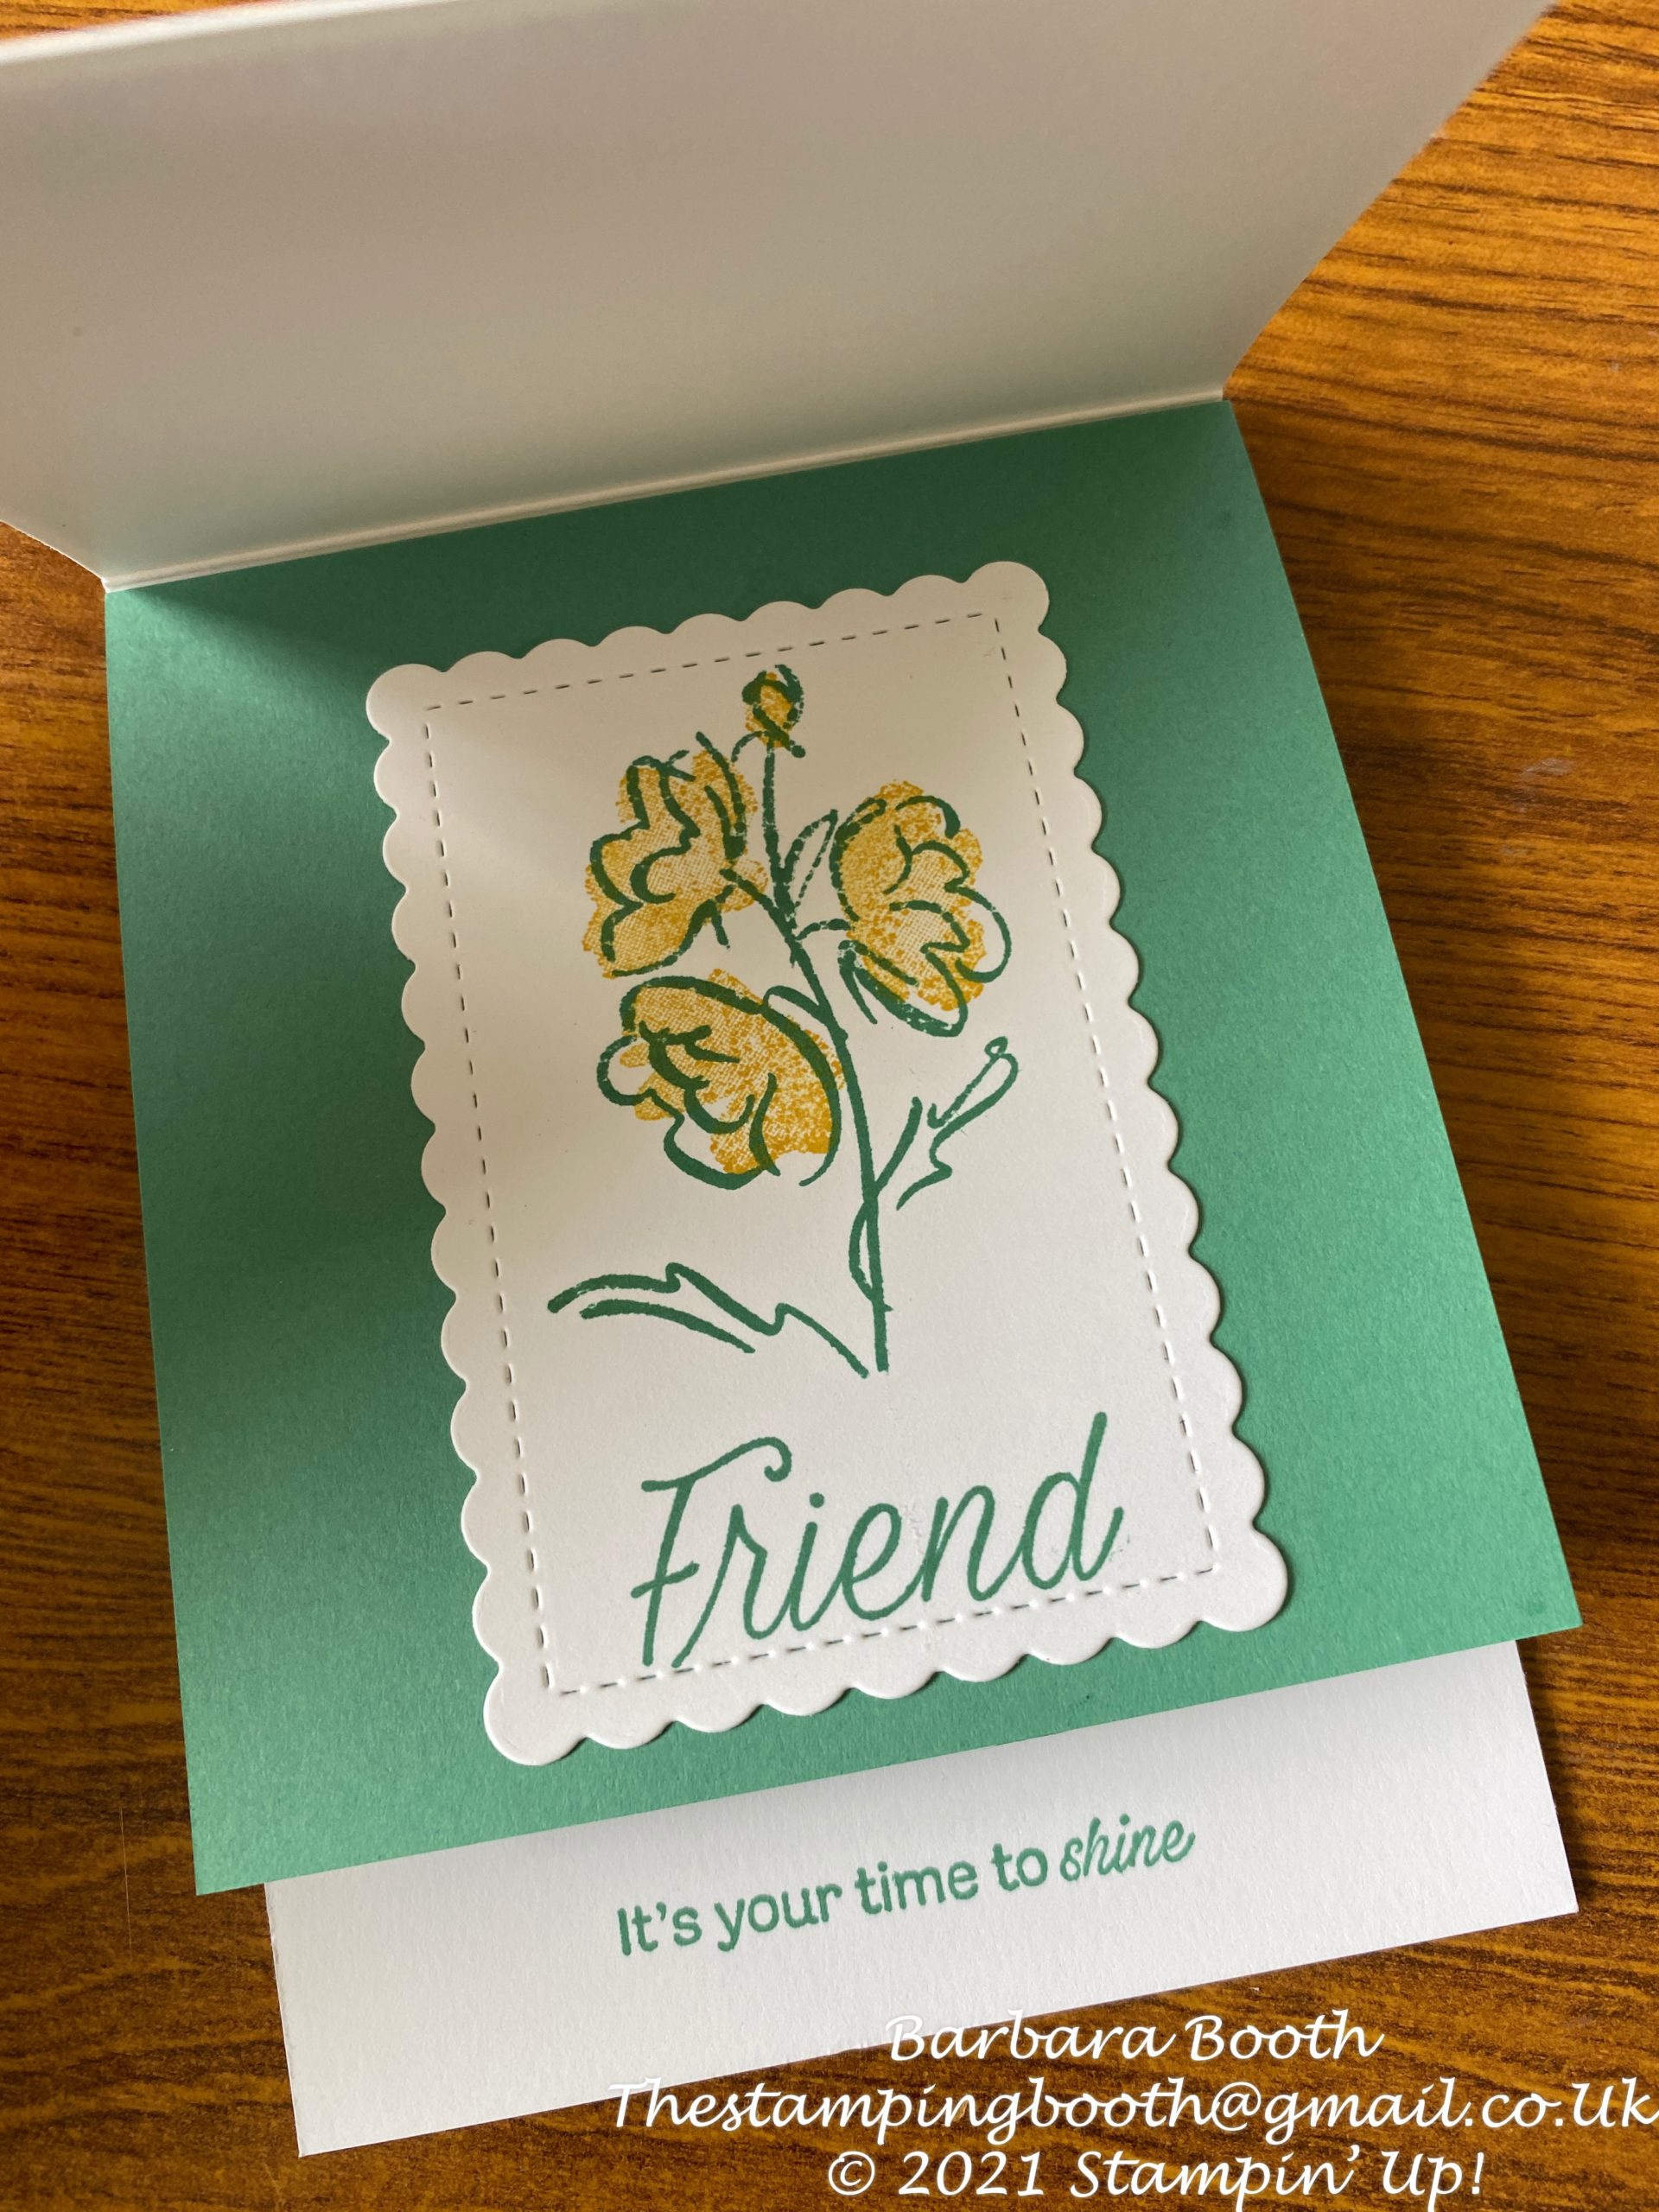
Add your stamped and die cut images, remembering that the middle layer and back layer hang below the front, so what ever is placed in the centre or back may show. (I carefully stamped ‘friend’ so I knew you could see it fully from the front.
I used sentiments from Daisy Lane stamp set
This card works equally as well orientated on its side….why not have a go?
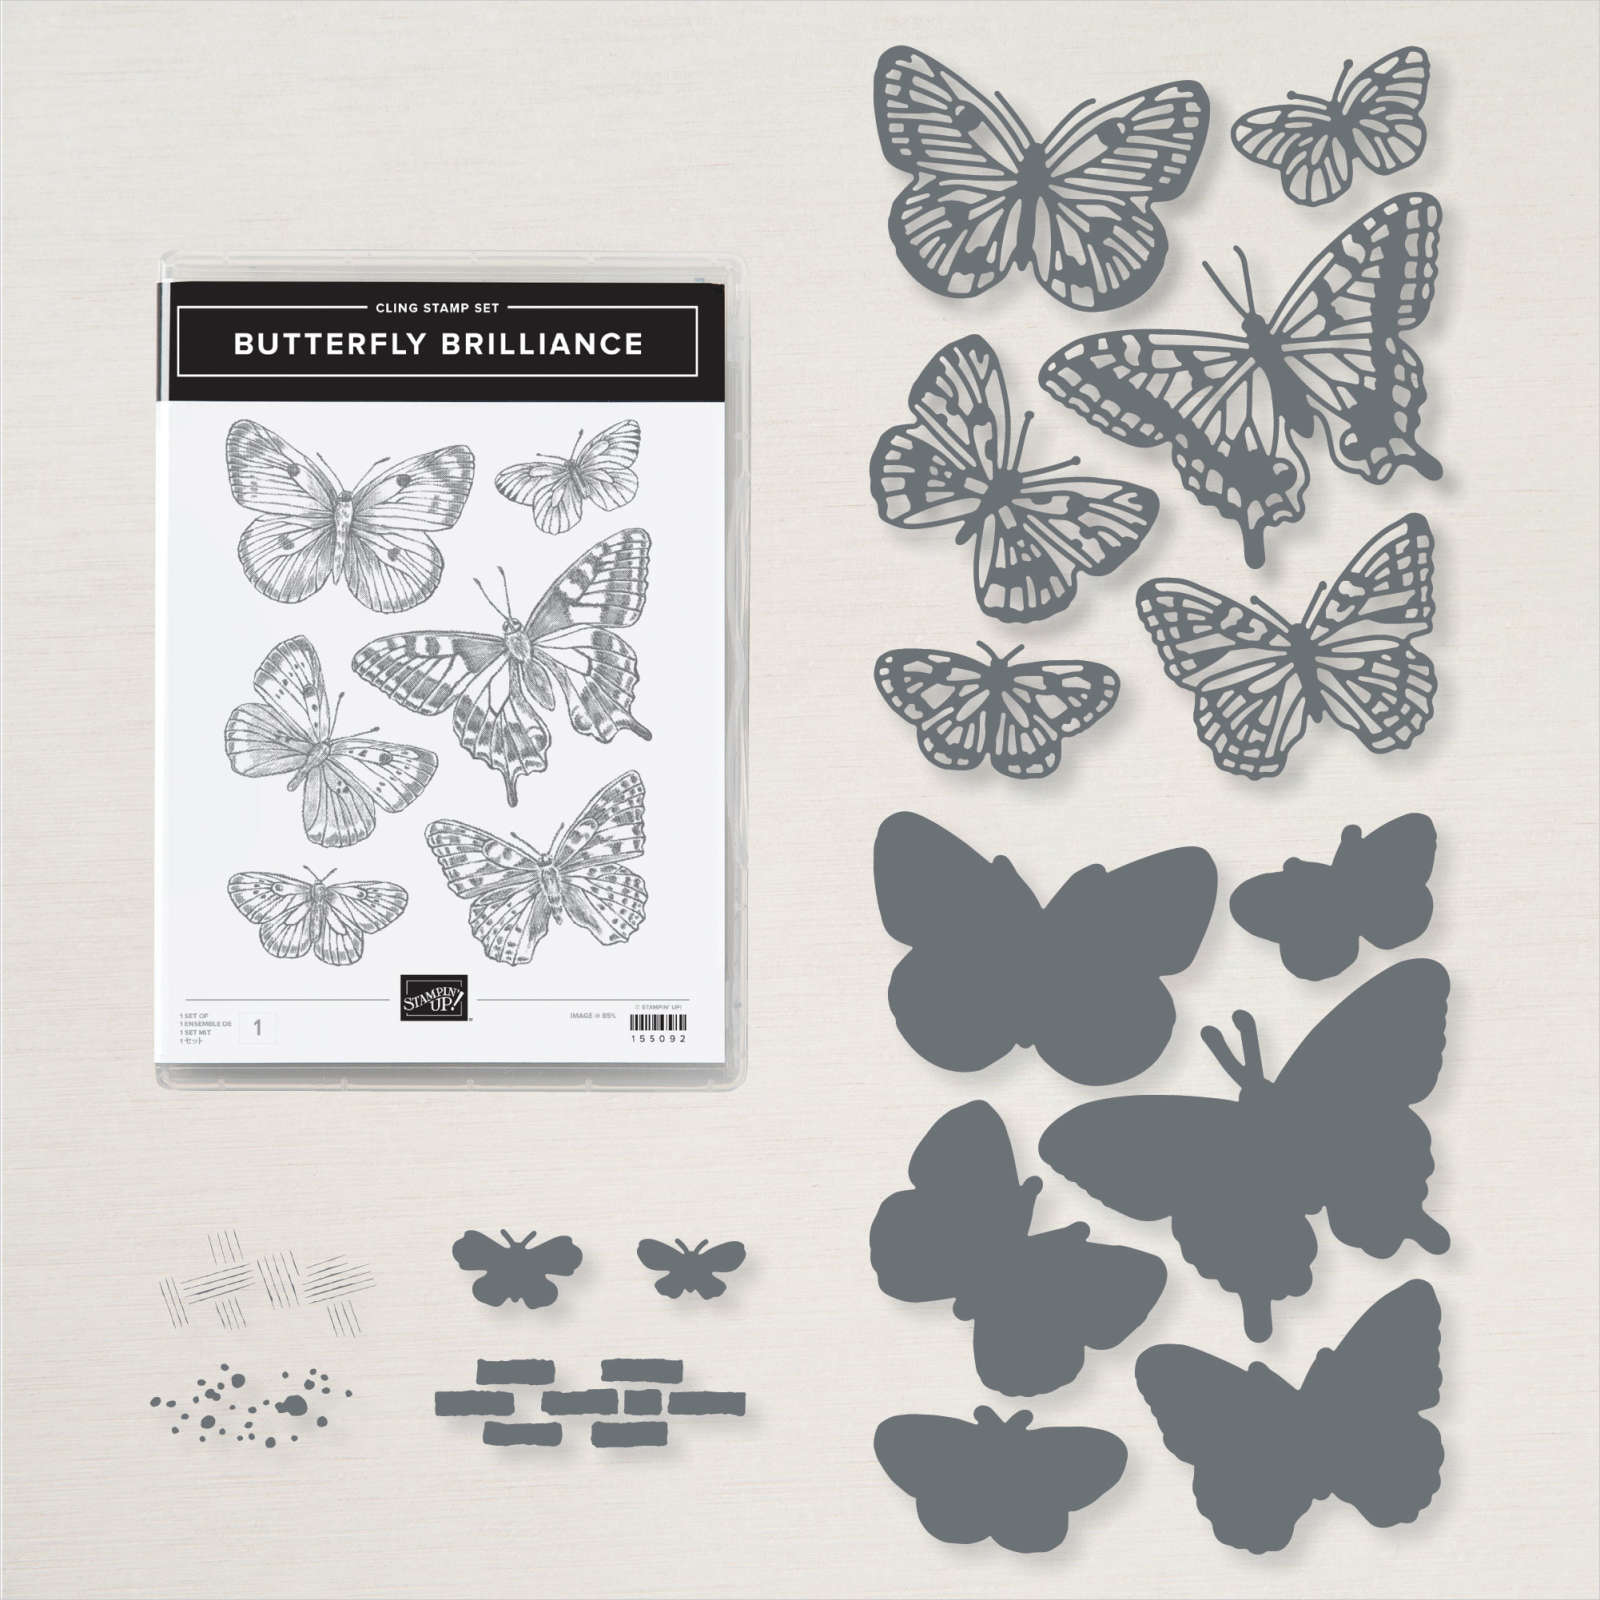
I’ve had Butterfly Brilliance Stamp set and the co-ordinating Brilliant wings dies for a while now, but not shown them to you until today!
I love how British these stamps are….so like our butterflies. They have so much details and the dies are stunning!
Yes, they are one large stamp, but by clever positioning of your paper, there is no need to stamp or die cut all of the butterflies in one go.
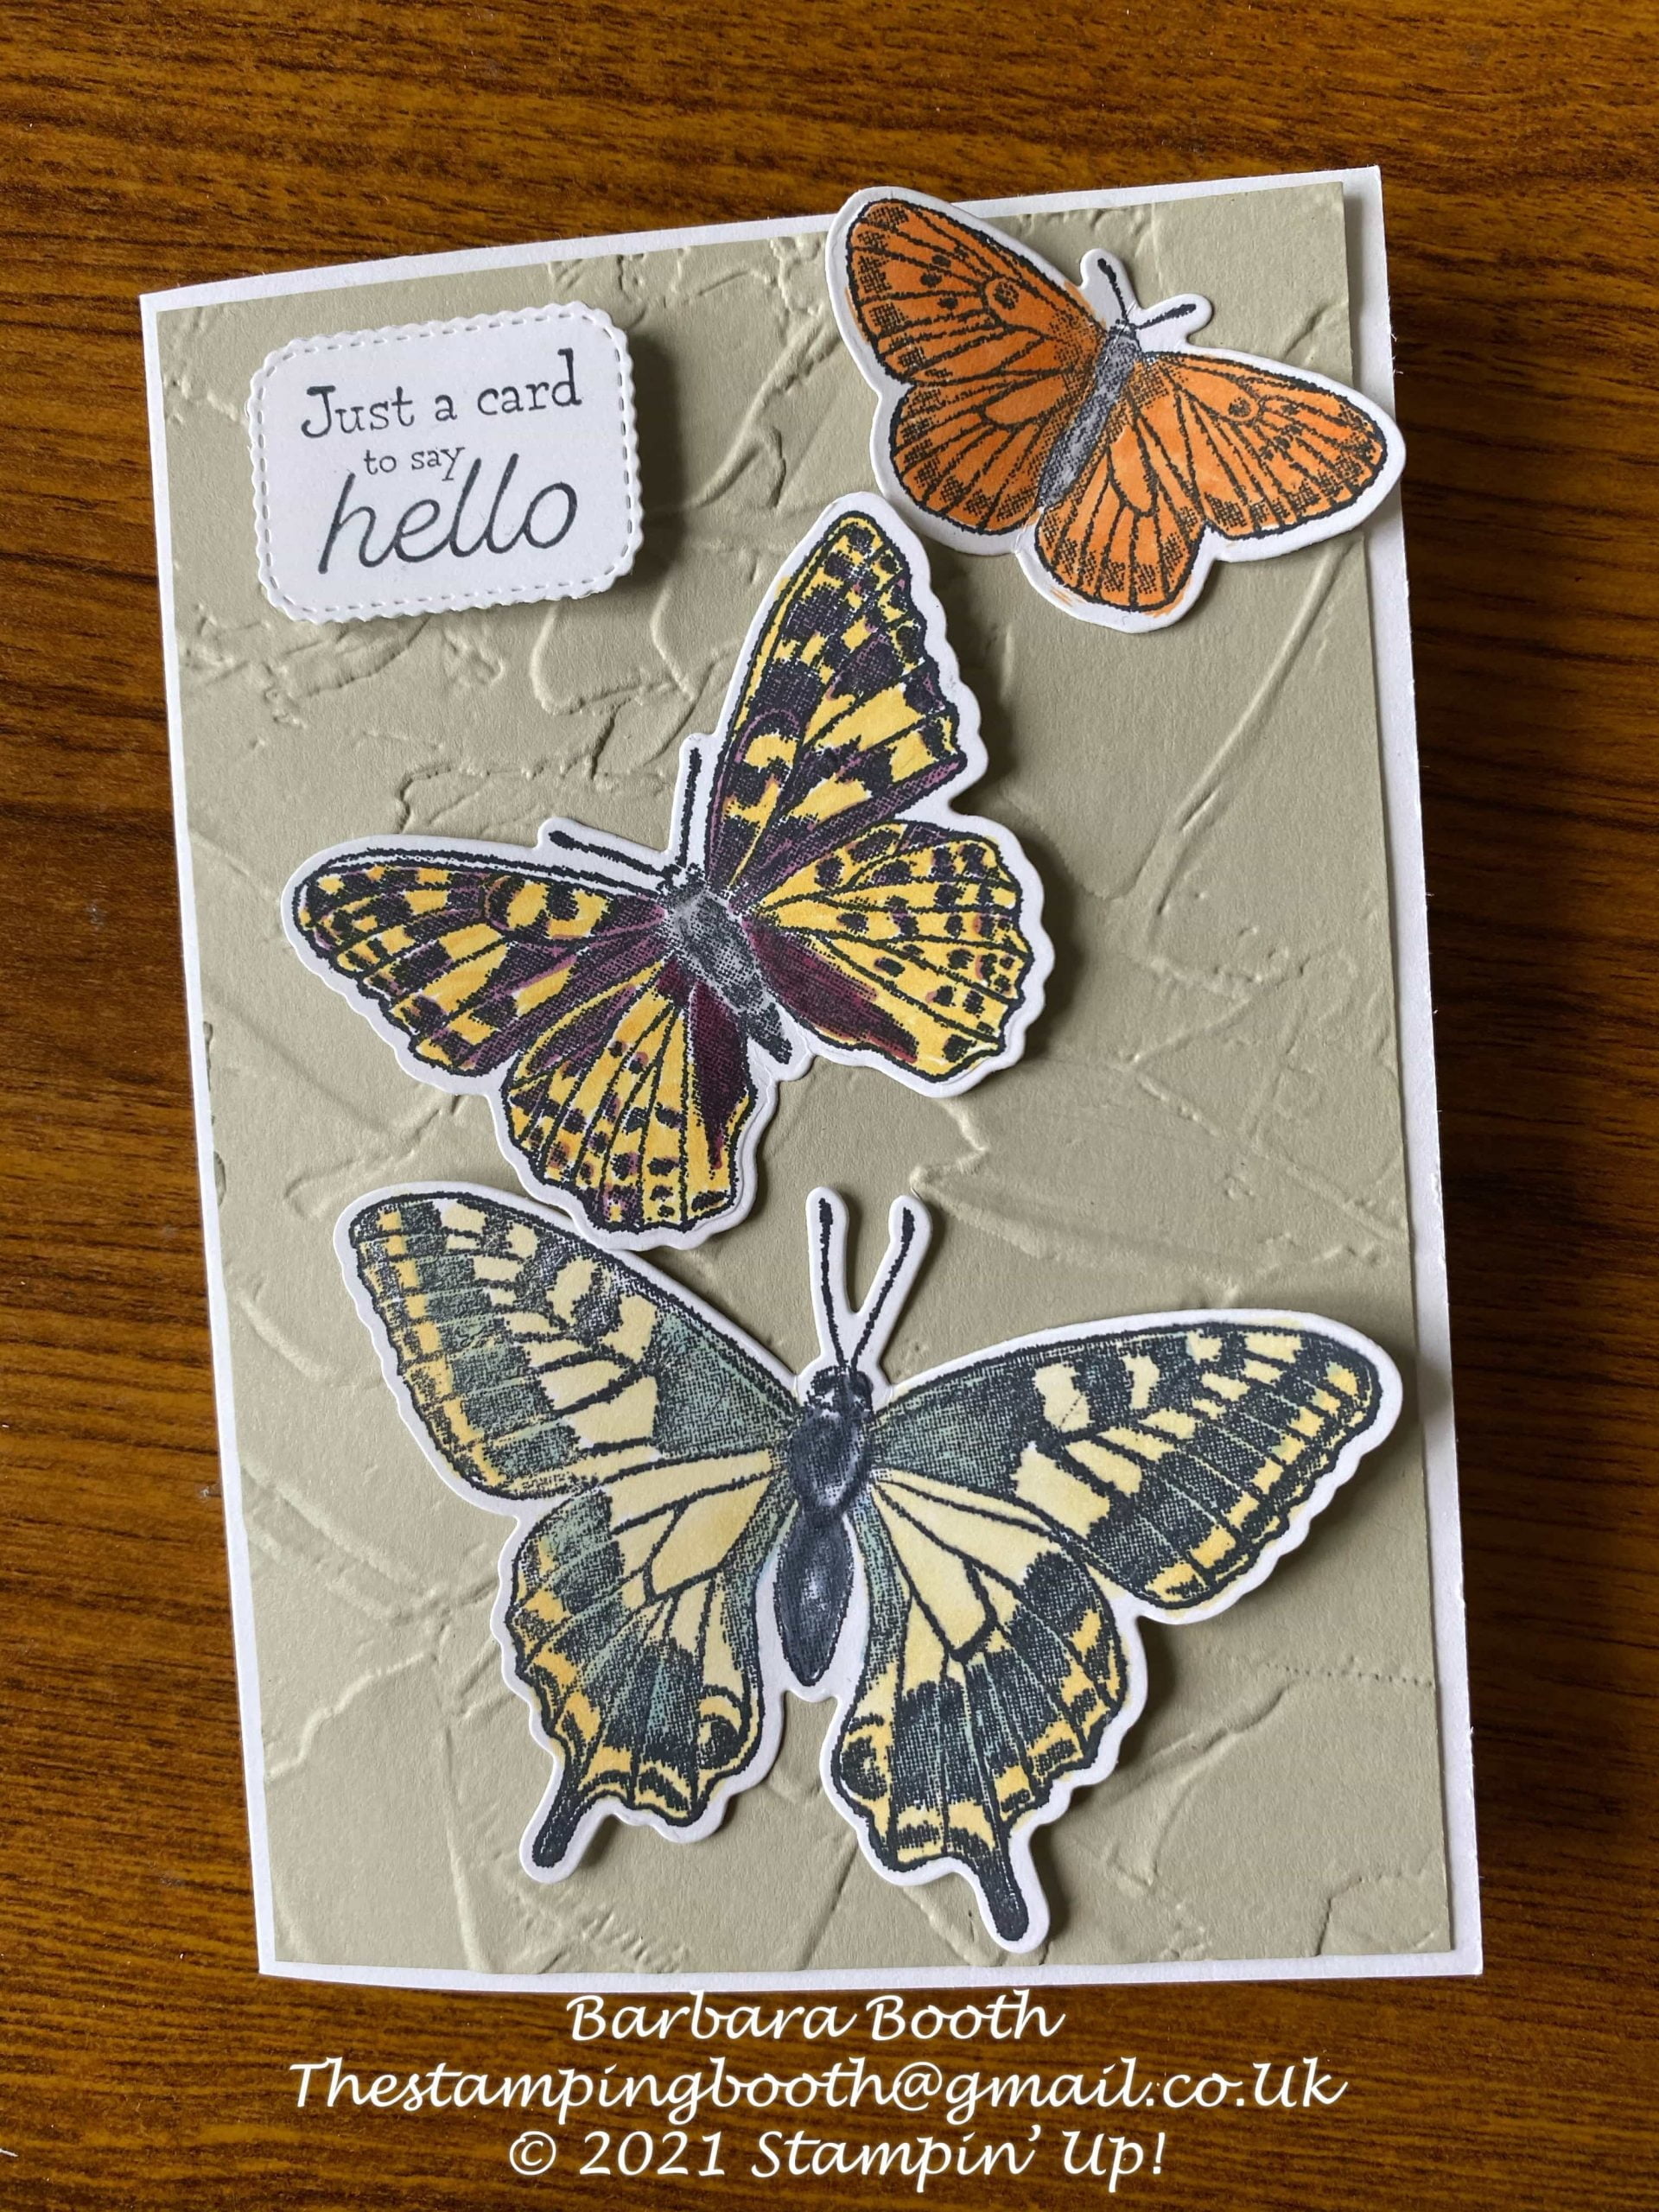
I made 1 card before hand using the Painted Texture 3D embossing folder on Sahara Sand card stock, to give it a lovely faux wall background. I coloured the butterflies with blends…Pumpkin Pie, Mango Melody, Blackberyy Bliss and So Saffron.
The cards I made Live, used soon to be retiring DSP (Designer Series Papers).
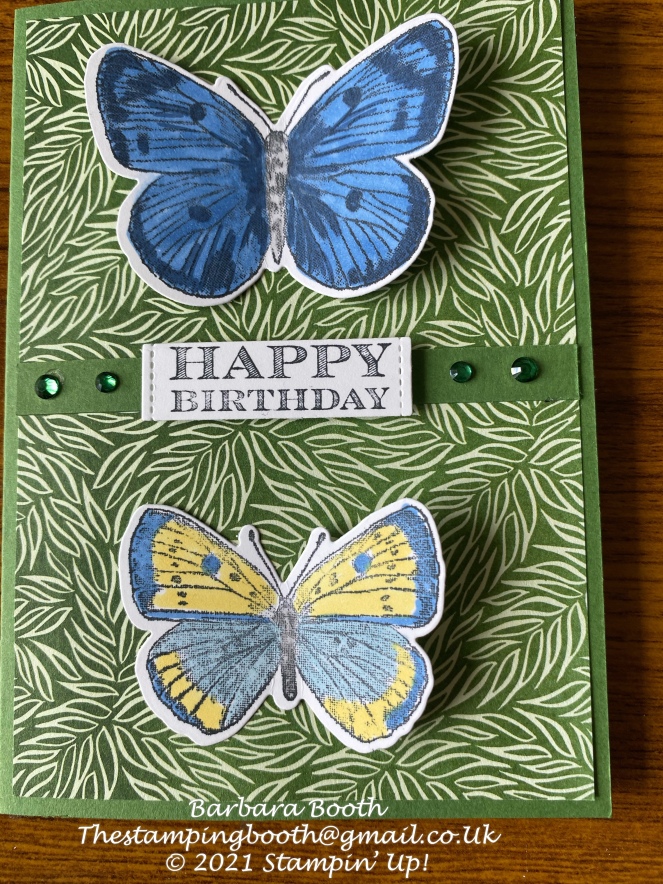
The first card used Forever Greenery, layered onto a Garden Green card base. The butterflies were coloured with Night of Navy, Daffodil Delight and Balmy blue blends for the outside, and a smaller butterfly was added to the inside which was coloured in Pumpkin Pie.
After the Live session had finished, I added a few Holiday Rhinestone jewels
The second card used Artisan Blooms DSP, on a layer of Pumpkin Pie. This time the butterfly was die cut from a piece of Pumpkin Pie cardstock and again some Holiday Rhinestones to embellish.
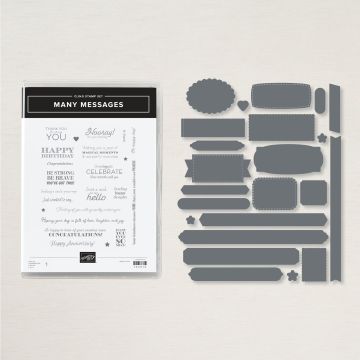
Sentiments for these cards were all taken from the Many Messages stamp set and the coordinating Messages Dies.
The Butterflies are from the upcoming Annual Catalogue, but are available now. The Many Messages is from the January to June Mini Catalogue.
Don’t forget the brand new Annual Catalogue will be available later this month. If you are not a regular customer, but would like a catalogue, please use the ‘contact me’ tab above, and I will get one to you.
We use cookies on our website to give you the most relevant experience by remembering your preferences and repeat visits. By clicking “Accept All”, you consent to the use of ALL the cookies. However, you may visit "Cookie Settings" to provide a controlled consent.
This website uses cookies to improve your experience while you navigate through the website. Out of these, the cookies that are categorized as necessary are stored on your browser as they are essential for the working of basic functionalities of the website. We also use third-party cookies that help us analyze and understand how you use this website. These cookies will be stored in your browser only with your consent. You also have the option to opt-out of these cookies. But opting out of some of these cookies may affect your browsing experience.
Necessary cookies are absolutely essential for the website to function properly. These cookies ensure basic functionalities and security features of the website, anonymously.
Cookie
Duration
Description
cookielawinfo-checkbox-analytics
11 months
This cookie is set by GDPR Cookie Consent plugin. The cookie is used to store the user consent for the cookies in the category "Analytics".
cookielawinfo-checkbox-functional
11 months
The cookie is set by GDPR cookie consent to record the user consent for the cookies in the category "Functional".
cookielawinfo-checkbox-necessary
11 months
This cookie is set by GDPR Cookie Consent plugin. The cookies is used to store the user consent for the cookies in the category "Necessary".
cookielawinfo-checkbox-others
11 months
This cookie is set by GDPR Cookie Consent plugin. The cookie is used to store the user consent for the cookies in the category "Other.
cookielawinfo-checkbox-performance
11 months
This cookie is set by GDPR Cookie Consent plugin. The cookie is used to store the user consent for the cookies in the category "Performance".
viewed_cookie_policy
11 months
The cookie is set by the GDPR Cookie Consent plugin and is used to store whether or not user has consented to the use of cookies. It does not store any personal data.
Functional cookies help to perform certain functionalities like sharing the content of the website on social media platforms, collect feedbacks, and other third-party features.
Performance cookies are used to understand and analyze the key performance indexes of the website which helps in delivering a better user experience for the visitors.
Analytical cookies are used to understand how visitors interact with the website. These cookies help provide information on metrics the number of visitors, bounce rate, traffic source, etc.
Advertisement cookies are used to provide visitors with relevant ads and marketing campaigns. These cookies track visitors across websites and collect information to provide customized ads.


")

")
 Designer Series Paper")
 Designer Series Paper")

 Metallic Woven Ribbon")

")


 2020–2022 In Color Ribbon")
 Designer Series Paper")
")


")

 Specialty Designer Series Paper")
")
 Glittered Organdy Ribbon")


")
 2020–2022 In Color Ribbon")
 Designer Series Paper")